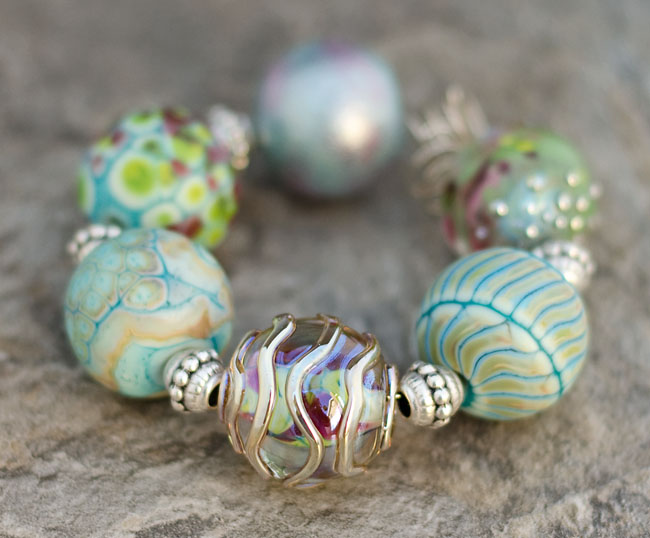
I am cleaning house to make room for 2012 beads by offering this set of Odd Lot Focals on eBay!
This set includes five medium sized 1″ lentil focals, one 1 1/4″ sized large lentil focal, and one of my large round ‘Pier’ style bead focals.


I am cleaning house to make room for 2012 beads by offering this set of Odd Lot Focals on eBay!
This set includes five medium sized 1″ lentil focals, one 1 1/4″ sized large lentil focal, and one of my large round ‘Pier’ style bead focals.

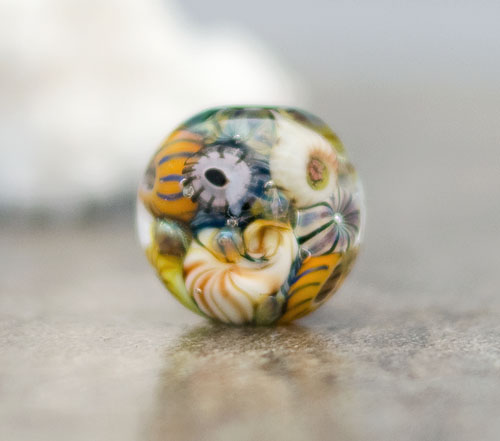
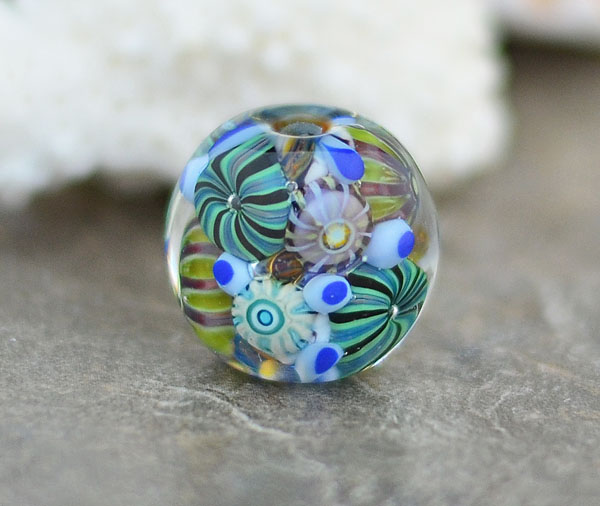
MAKING BEAUTIFUL MURRINI” Step-by-Step Tutorial
by Christina Catherine of CCGlassArt
Includes:
**Over 100 color photographs**
**More than 50 pages of instruction**
**Four murrini recipes including my super popular Starlight Murrini recipe**
**A Torch-Side Reference Guide**
…and SO much more!!
This tutorial is for every lampworker who has wanted to make murrini but didn’t because they were intimidated by the process, or perhaps has tried making murrini – spending many hours at the torch and using up lots of glass – only to be disappointed with the end result.
I was one of those lampworkers myself. I spent more hours and wasted more glass than I care to admit making hundreds of murrini canes with nothing worth using to show for it. Until, after much trial and error, I finally developed a fool-proof method and a series of reliable techniques, tips and tricks that helped me produce consistent results every time.
Once you learn to successfully make your own murrini cane the sky’s the limit! You can make custom designs anytime you want, in any colors you want. You can make murrini specifically for the style of beads you create.
You will be able to set your beads apart from the crowd making them more unique and individualized with murrini in color combinations and patterns you develop that are unavailable anywhere else.
You can even sell or share your extra murrini with other lampworkers (or fusers)!
Topics covered this tutorial include:
*Learn to create a 5 layer murrini design with up to 24 outer stripes (that will look like 48!)
*Choosing the best colors (I use COE 104 but you can easily adapt these tips and techniques to other COE glass)
*How to know which colors will work well together (and which colors to avoid)
*The entire process of making murrini cane from start to finish, step-by-step
*How to remove trapped air bubbles from encasing
*Getting multiple stringer lines spaced evenly and straight all the way around
*What to do when your stringer pops off unexpectedly
*Pulling the cane to a uniform diameter
*What to do with waste glass leftover from making murrini cane
*How best to apply murrini chips to your beads
…and tons more…
Making murrini can be intimidating but it doesn’t have to be. When broken down into easy-to-follow instructions, (with color photos guiding you every step of the way), you will have all the information you need – and the confidence – to successfully create beautiful, miniature designs in murrini that will take your beads to the next level.
This tutorial is written with the intermediate to advanced glass artist in mind who is well familiar with all aspects of lampworking including working with an open flame, melting glass rods, all safety precautions, etc.
However, if you consider yourself a beginner and are thinking about purchasing this tutorial but are unsure if you will benefit from it, please contact me. I may be able to help you decide if this tutorial is right for you at your current level of experience. 🙂


With the kids back in school this month has gone by in a blur. So this is a ‘catch up’ post to share all the glassy things I’ve been making lately…and then some.
Let’s start with beads –


Then I made some little murrini chips –


As a final note – I finally got my first ‘big girl’ camera…something I have been wanting for many years. I love photography and as I get older capturing memories seems to be even more important.
My kids have been fairly cooperative as I take pictures of anything and everything I see, including them.
But one member of my family wants nothing to do with my new toy:

Somehow I’ve got to get her used to it because she is one of my favorite things to take pictures of! Hopefully she’ll come around and enjoy getting her picture taken…with any luck it’ll be before her next trip to the groomer (which will be soon) because she looks so adorable afterward. I just won’t be able to resist snapping a few pic’s of her all dolled up. 🙂
It has been the hottest weeks of the summer so far and therefore my time at the torch has become extremely limited. Thankfully, I was able to complete some beads before the heat wave hit! But until things cool down, I will have to commit all my new beady ideas to paper.
Until then, enjoy this week’s beads – I’ll have some new ones next week too, but after that…it’s up to ‘mother nature’.


