Featured

🔥  Bead Drop: 2-23-24 (Revisiting past designs)

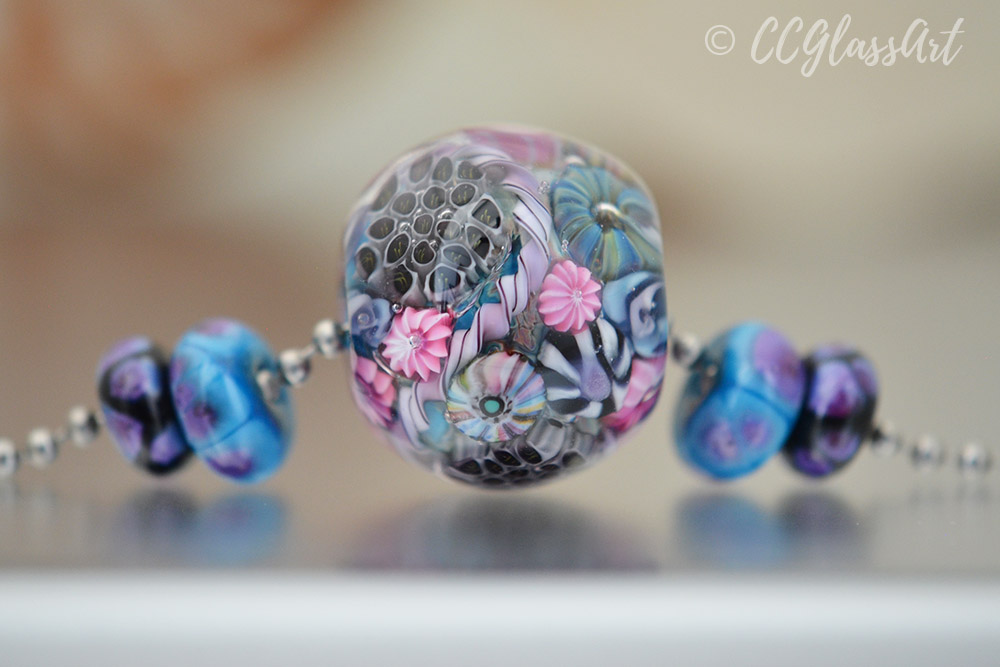
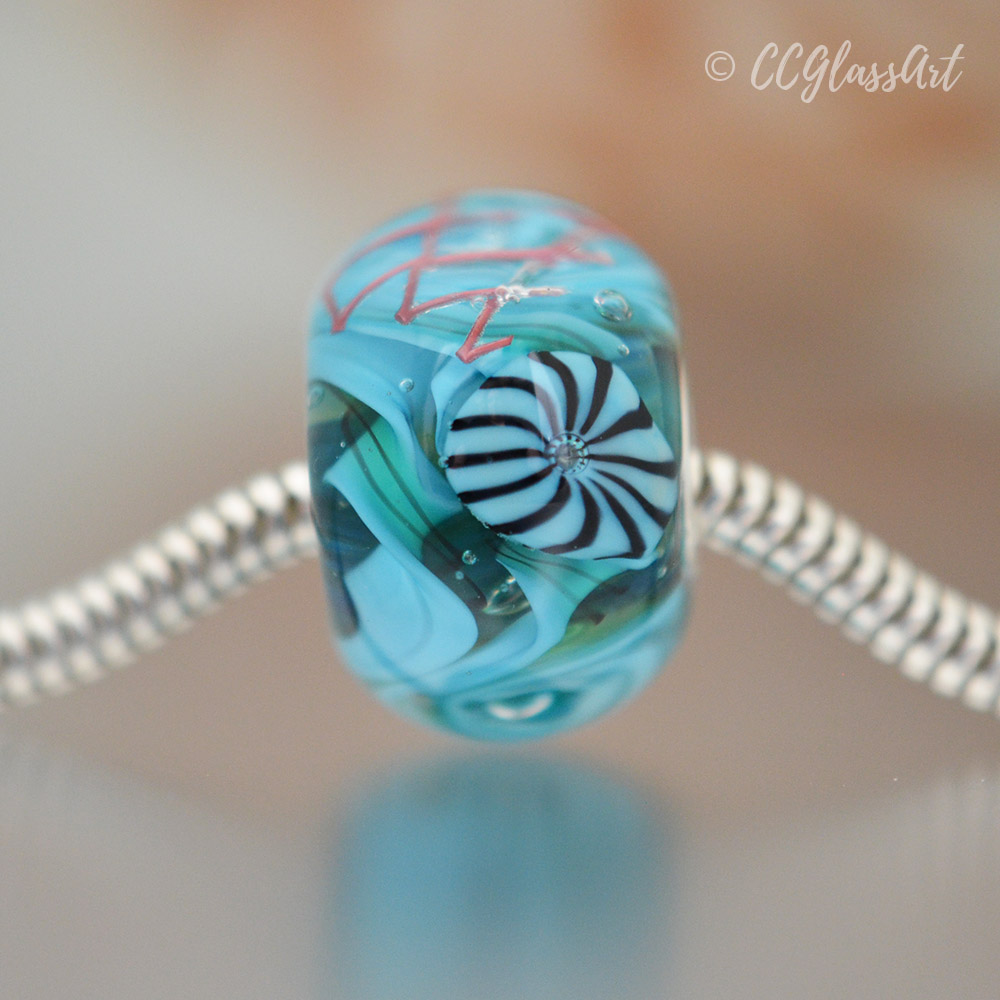
Years ago, I developed a bead series called Neptune’s Net. There’s actually a restaurant in Malibu, CA that was the inspiration for this series…

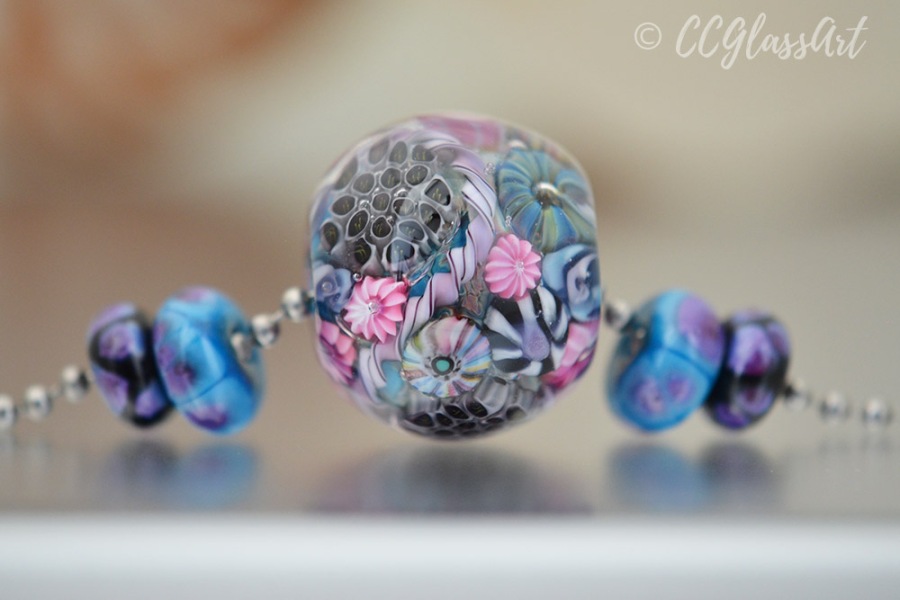
There are 2 key components to these beads… handmade latticino (aka glass twisties) and real copper mesh.

What I love about working with latticino is that the twisted glass offers SO much depth and dimension when encased under a layer of clear glass. It’s a BIG visual impact for a such a small element.

To give these beads their ‘Net’ I use copper mesh – which is not so fun to work with, actually… LOL! 😀

Copper mesh can burn up in the flame in an instant if you’re not careful. And when applying and encasing it you have to make sure all the little cut ends of the mesh don’t poke out of the bead!

But the end result is worth it.

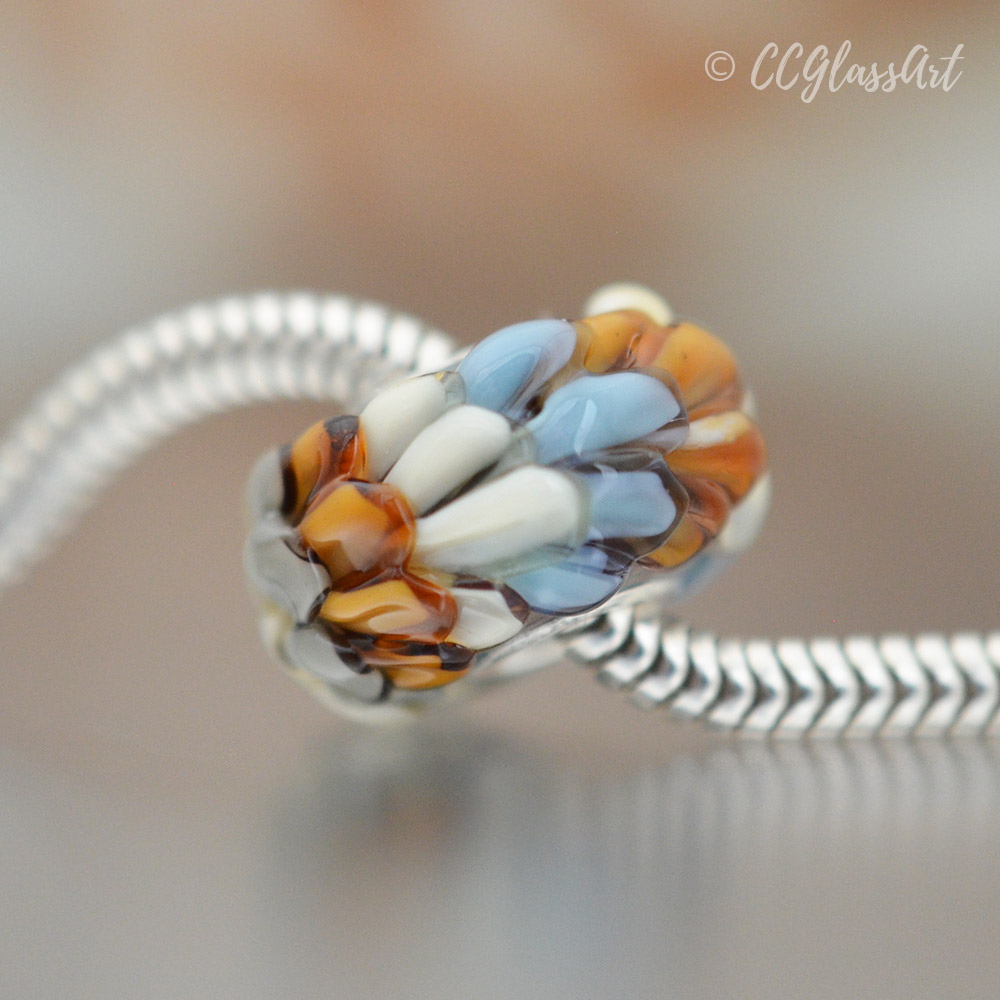
Another series I’ve brought back, and developed a bit further, is my Feather Series.

I have been inspired to bring this series back by a pair of eagles nesting in Big Bear, CA.

I am just fascinated with how they interact with each other and how well they take care of their eggs. Even through snow-storms like this one a couple weeks ago…

(You can watch them on the ‘eagle cam’ here https://www.friendsofbigbearvalley.org/eagles/ . They have 3 eggs that are scheduled to hatch in the next week or two!)

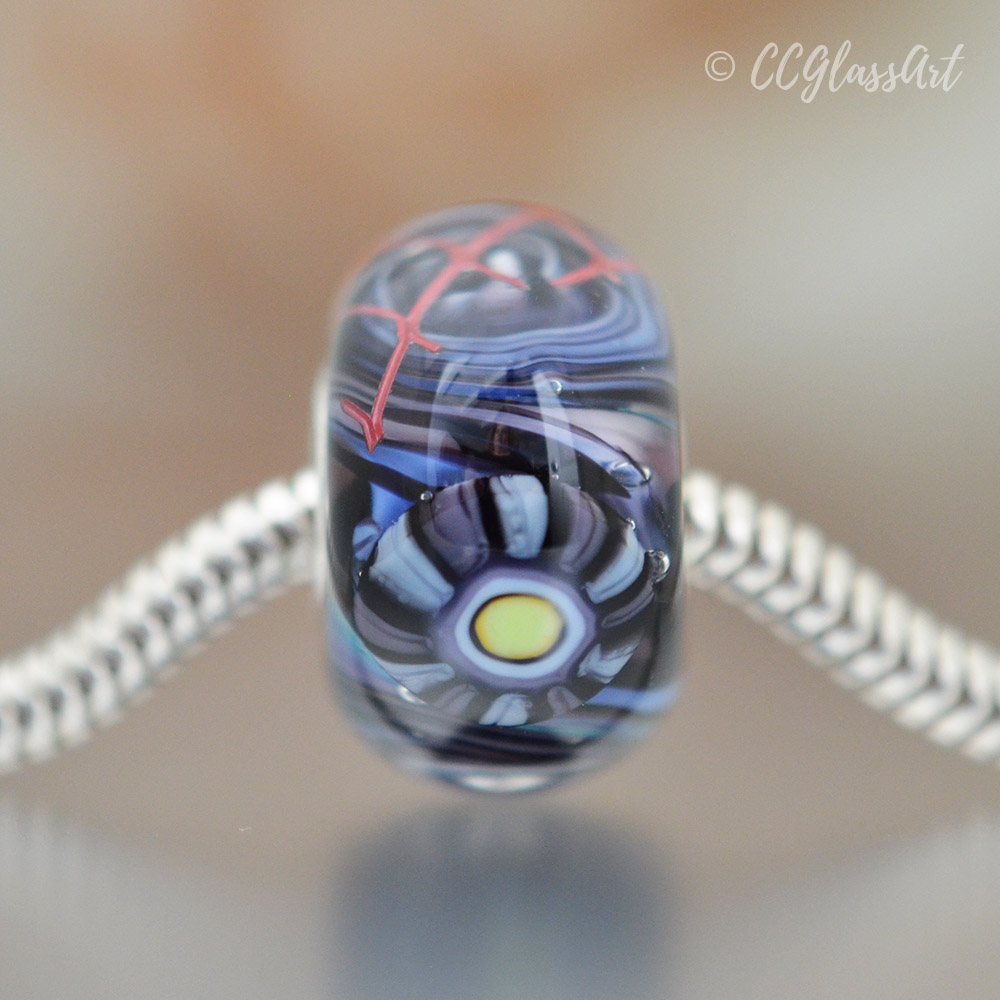
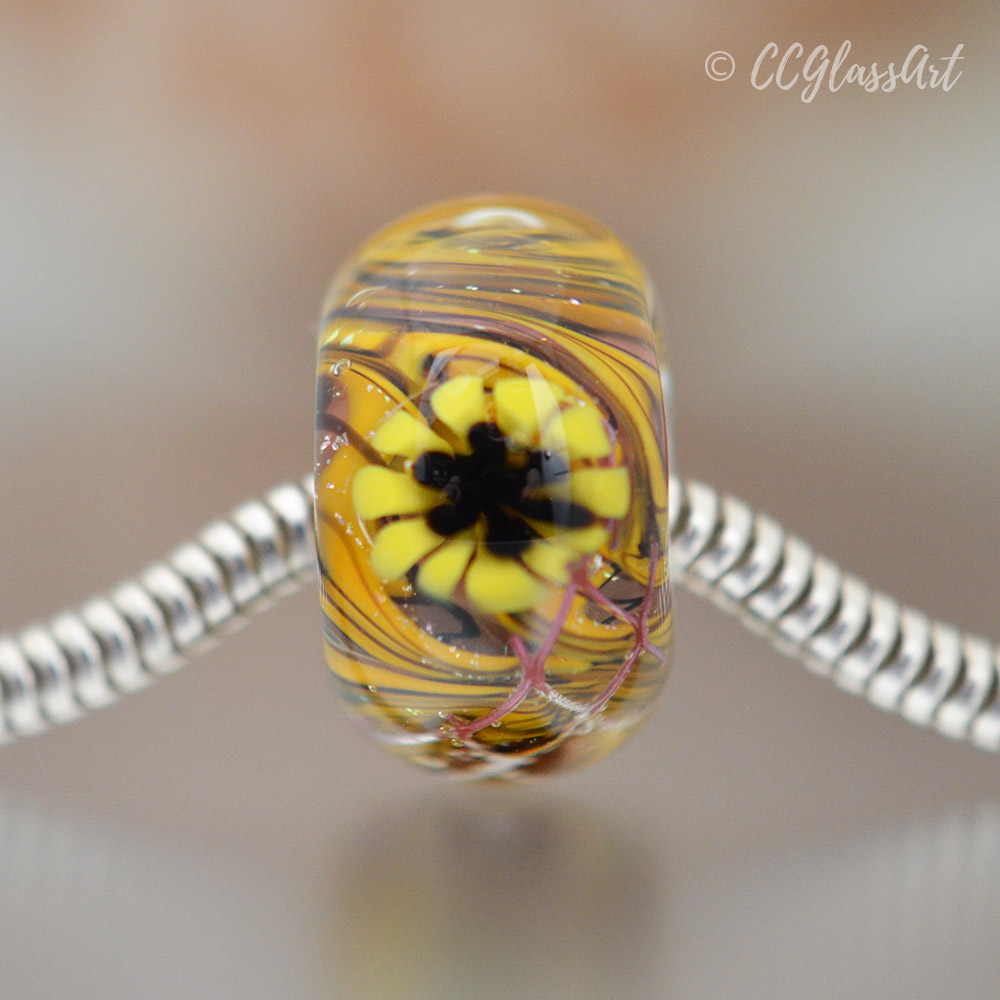
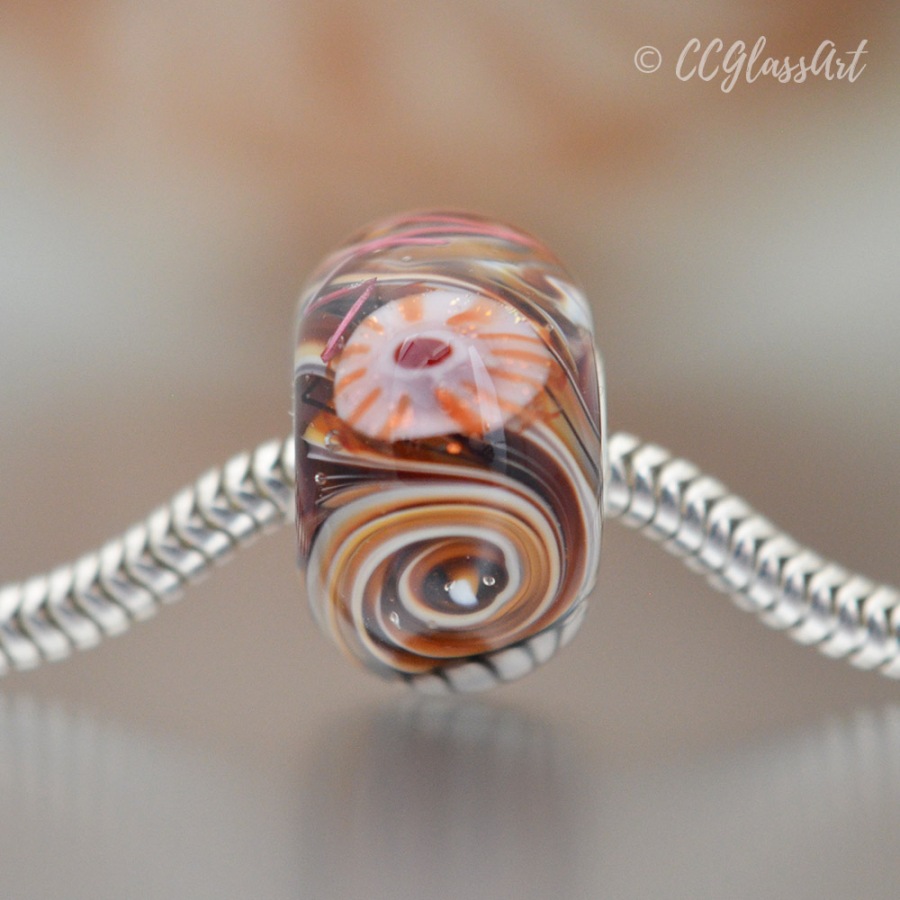
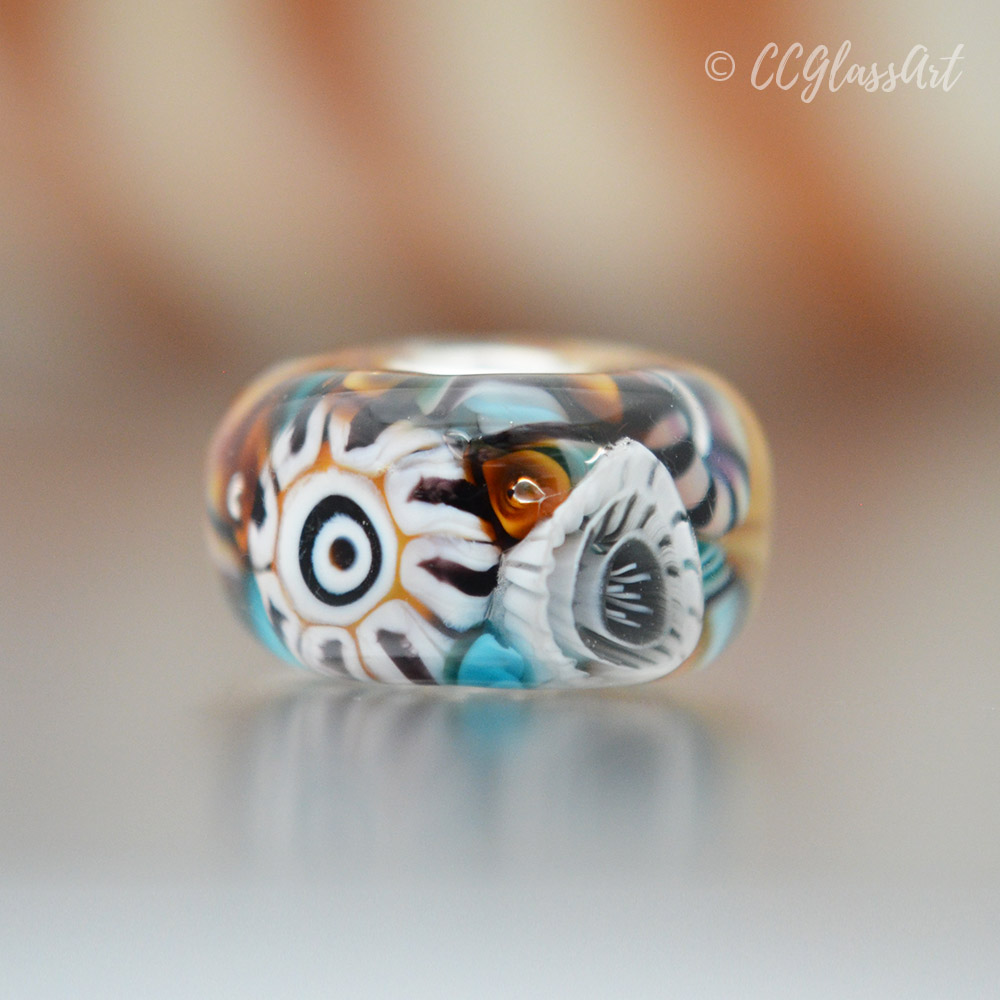
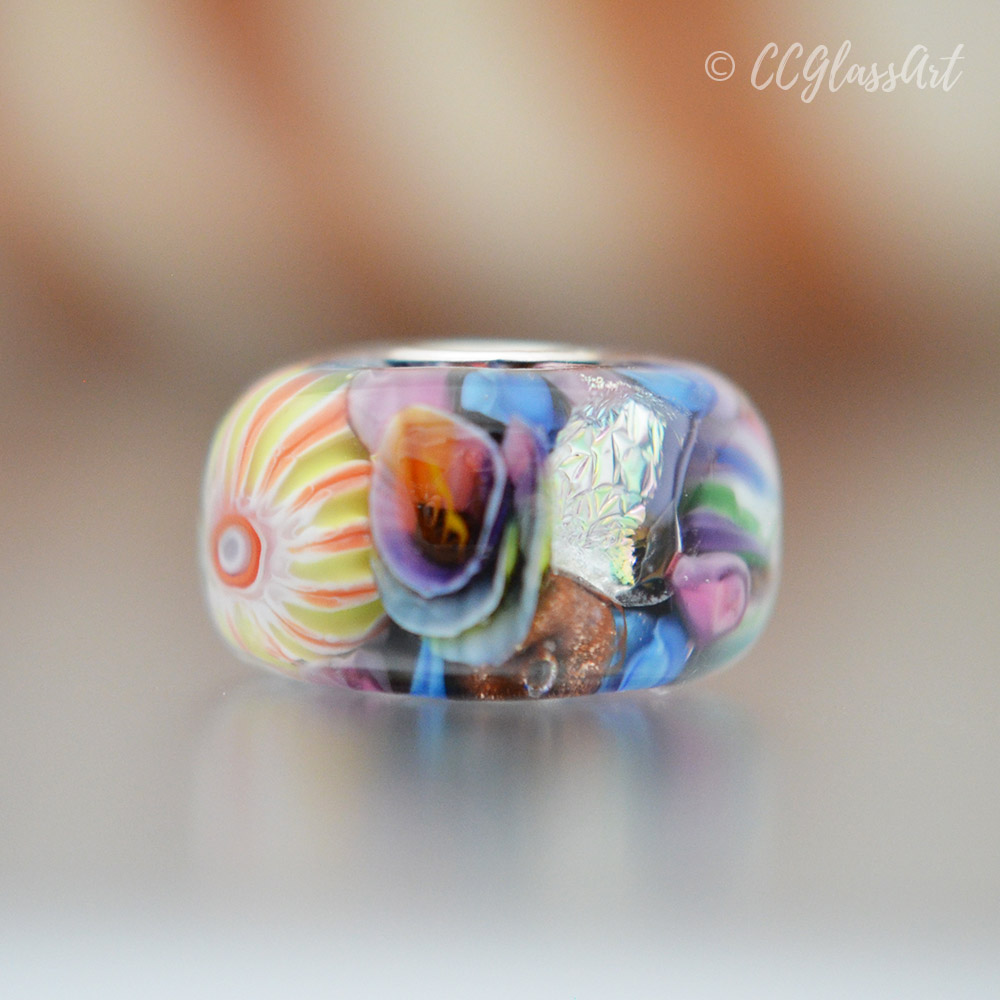
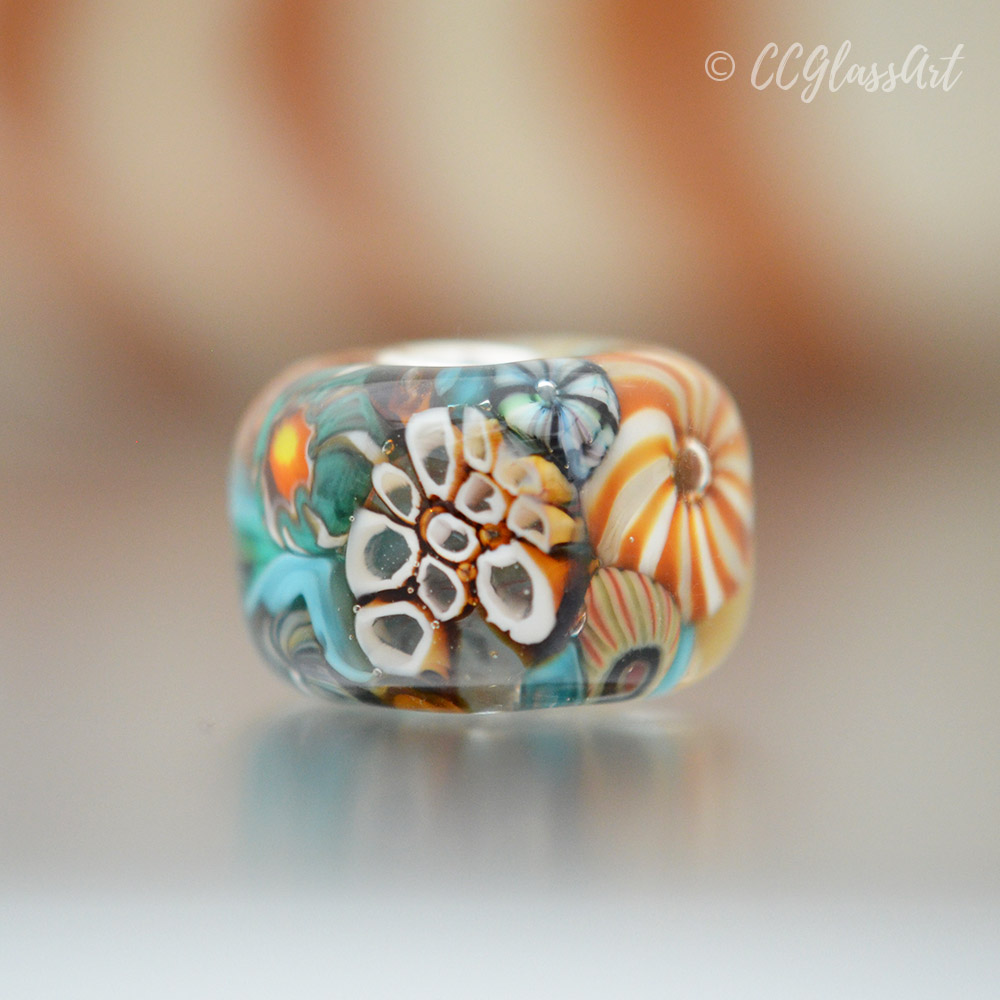
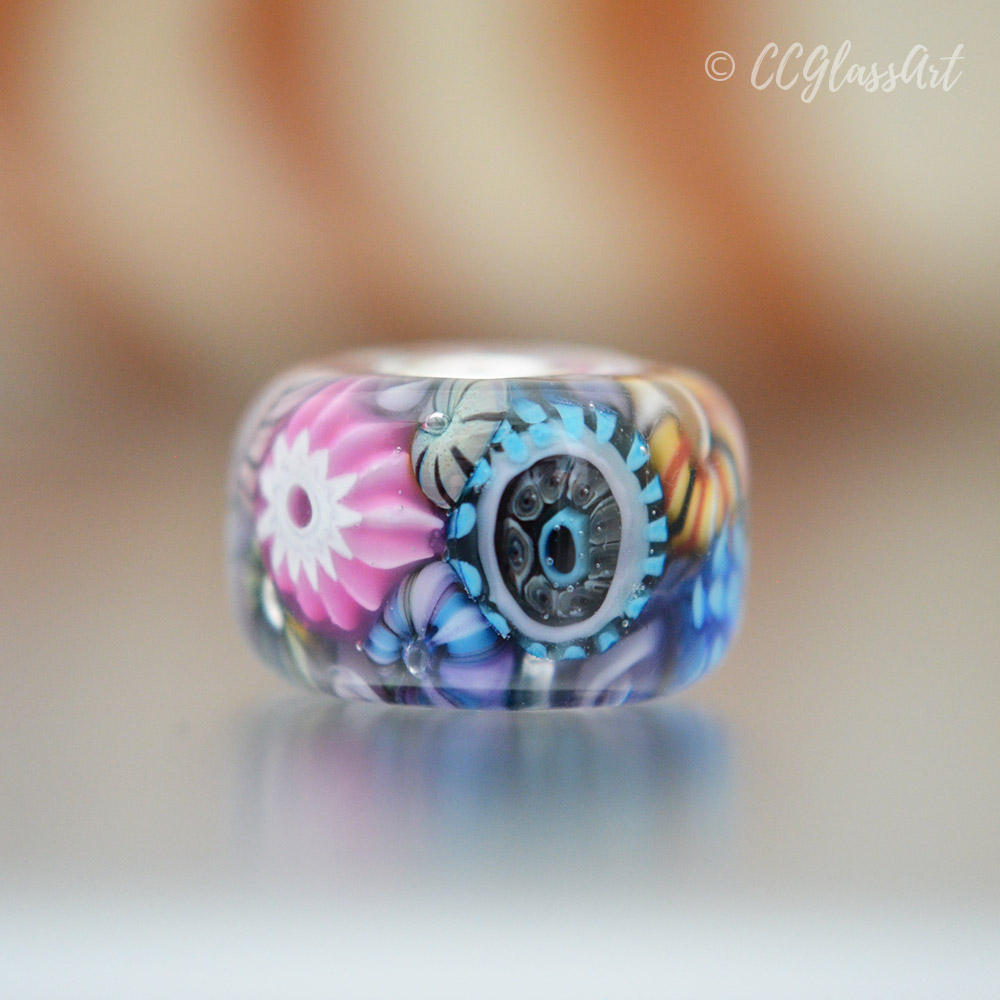
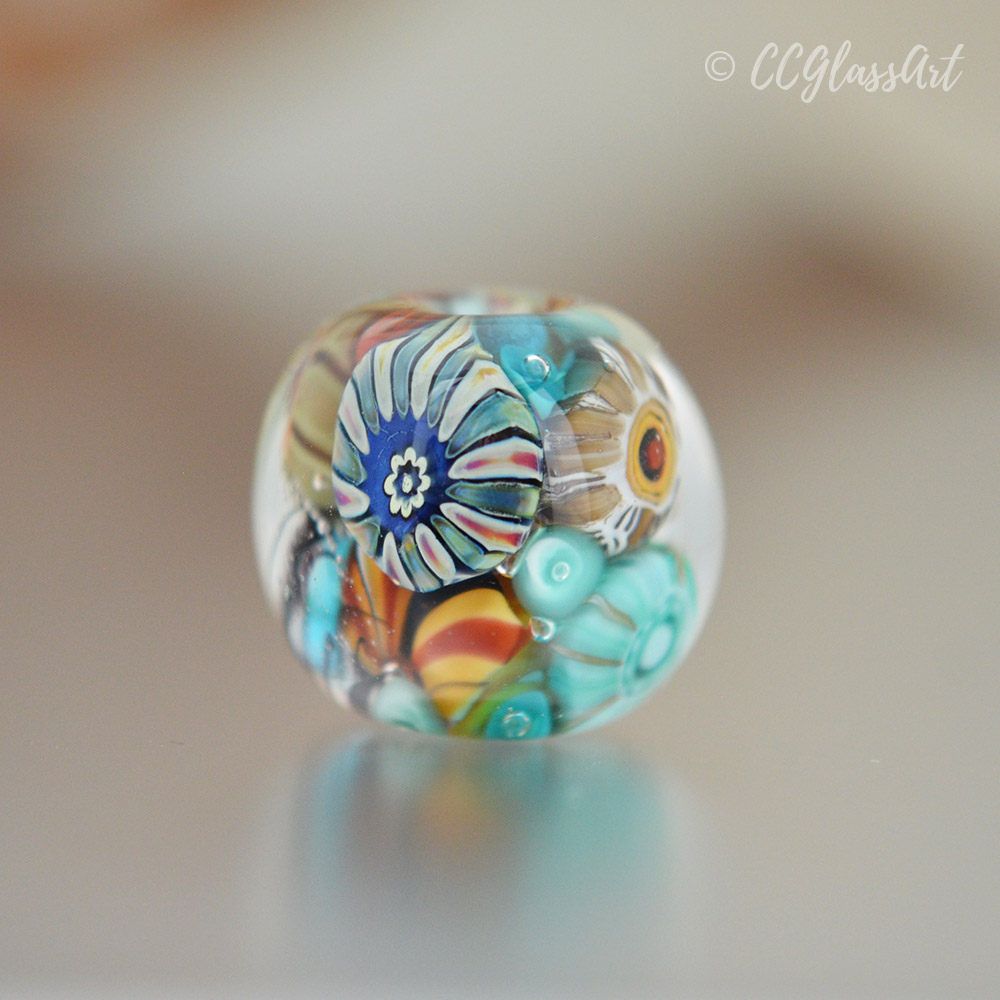
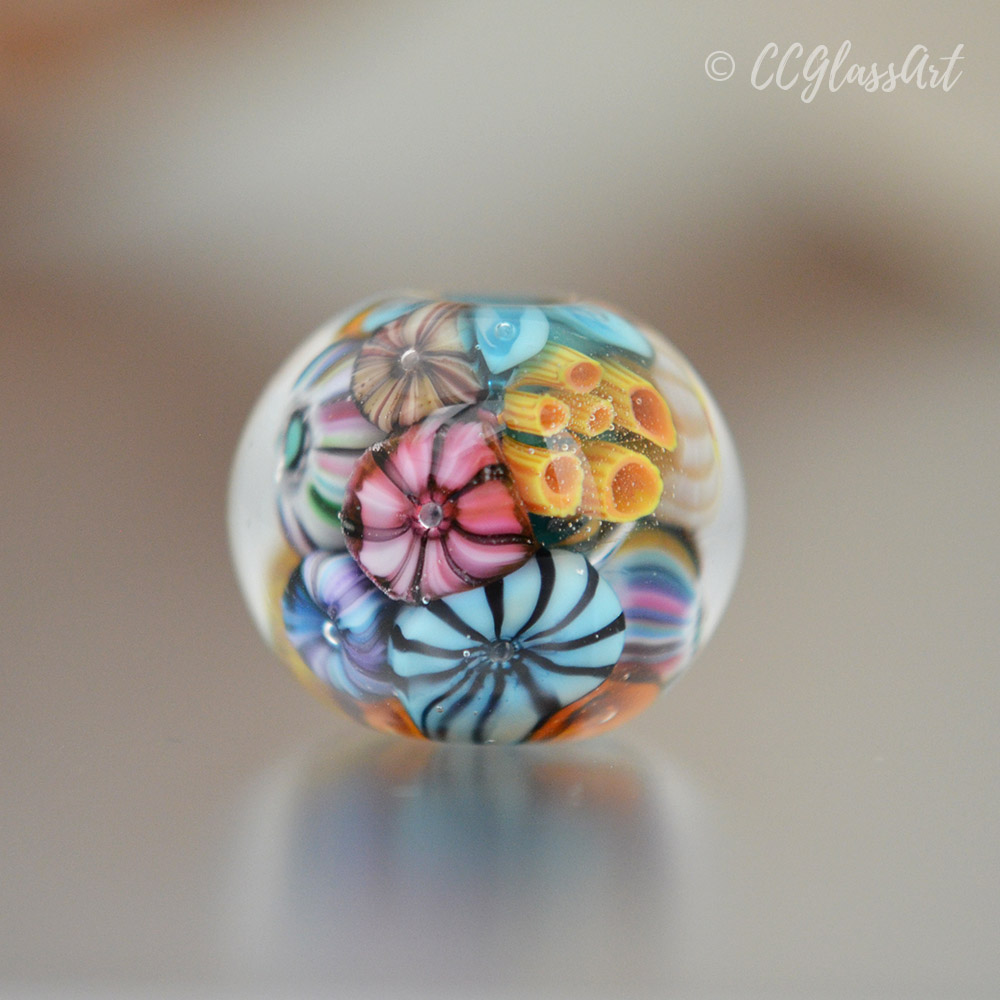
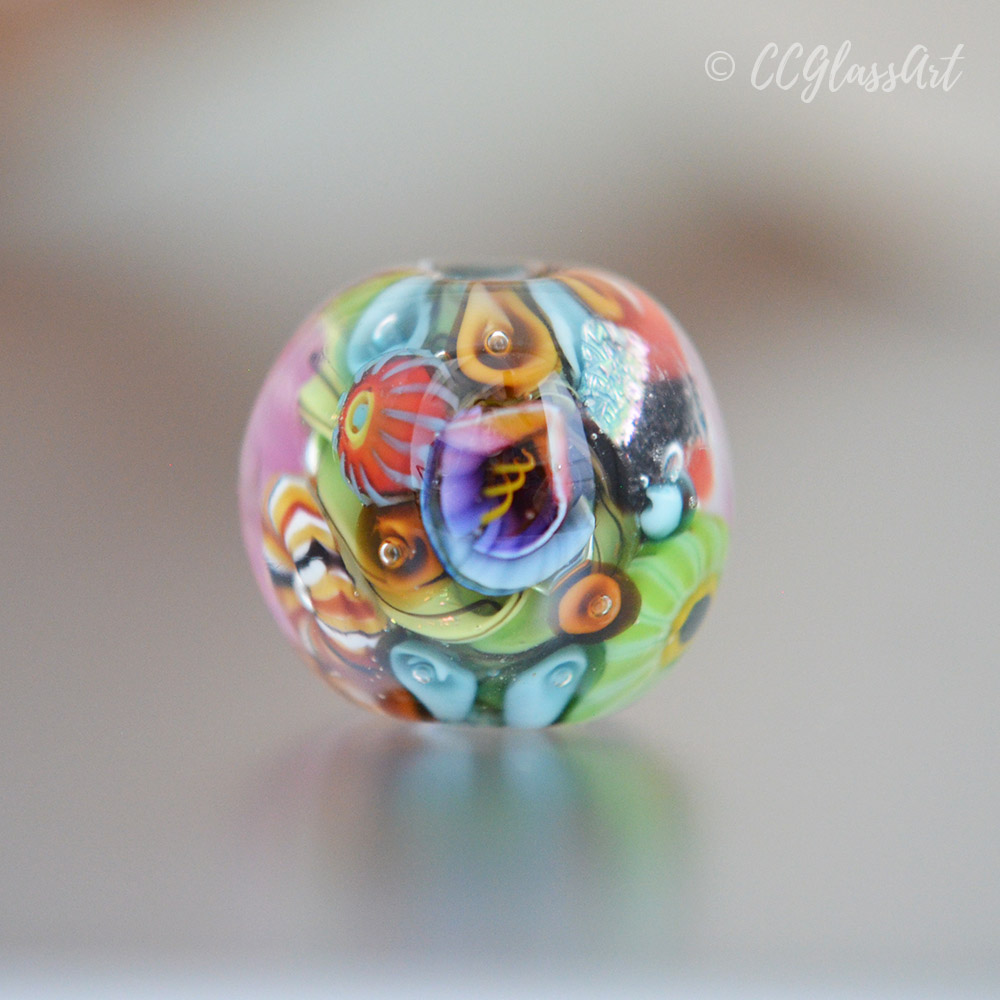
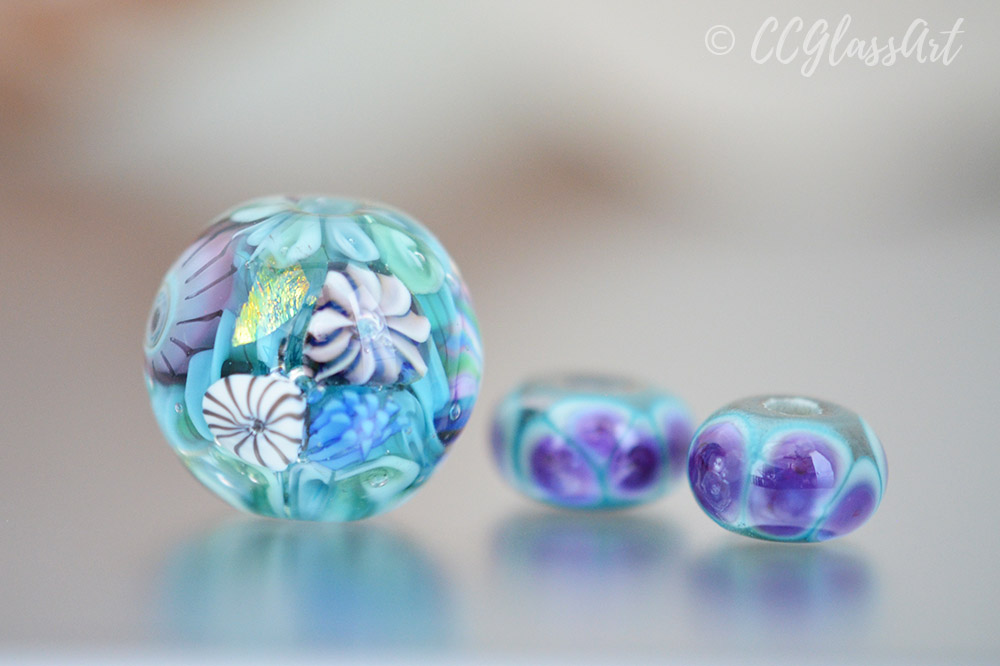
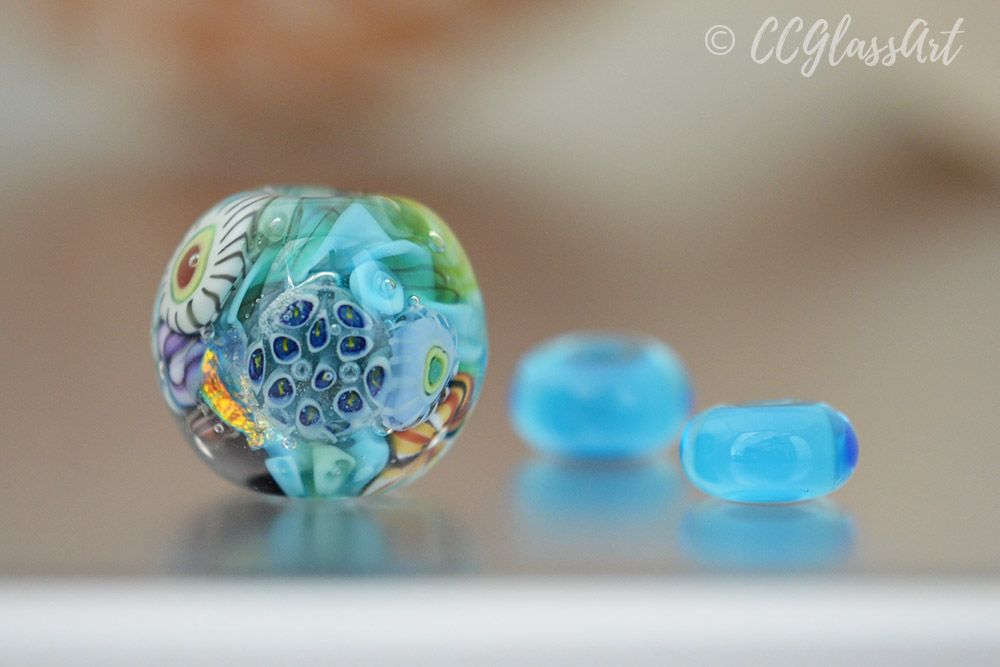
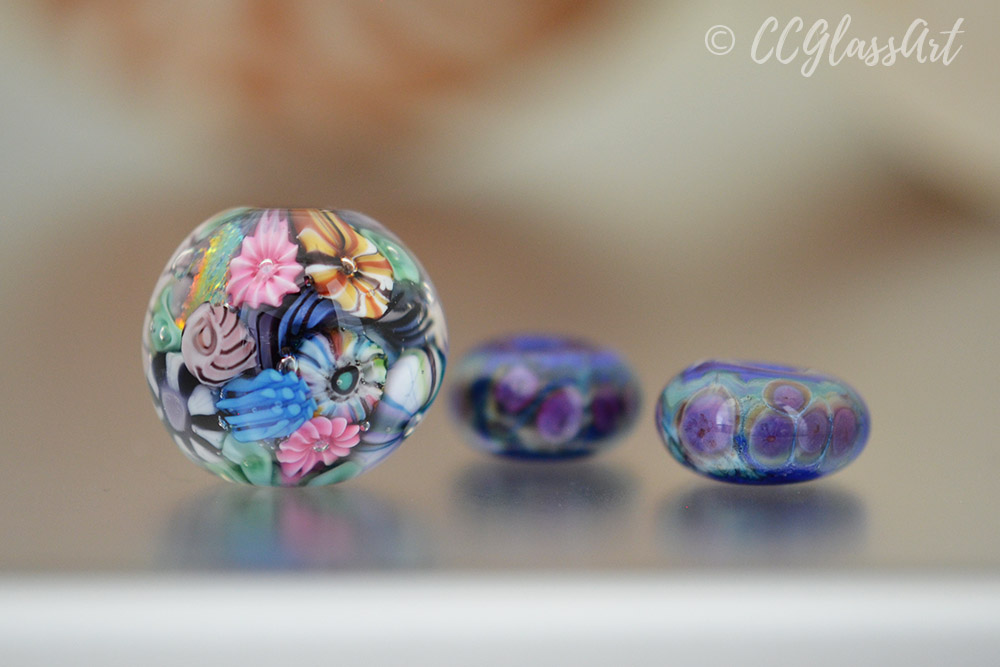
I’ve included photos of all my new beads below… (available now on Etsy).
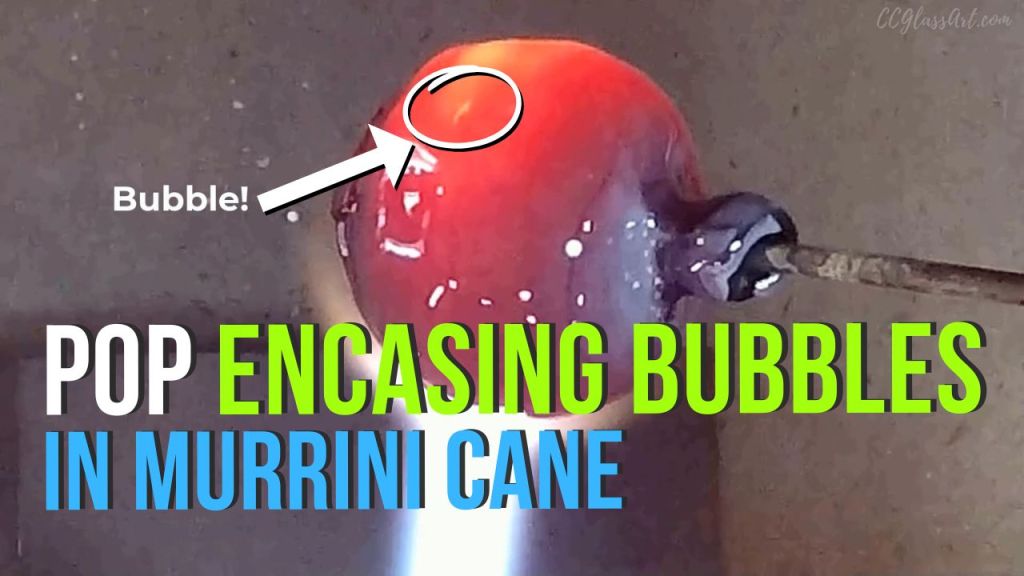
🎥 NEW Video: “How to POP a BUBBLE in the outer layer of your Glass Murrini Cane without ruining the inner design”

Click to view video on YouTube

How to POP a BUBBLE in the outer layer of your Glass Murrini Cane without ruining the inner design

In this lampworking tutorial video, you’ll learn how to gently and carefully pop a bubble that can form in the outer encasing layers of your murrini cane – while at the same time making sure you don’t affect the inner design. It’s important to remove all bubbles around 1mm or larger so they don’t become long channels of air trapped inside your cane that would cause your chips to become shocky or create flaws in your design.

Bead Drop: 2-12-24 (BHB’s!)

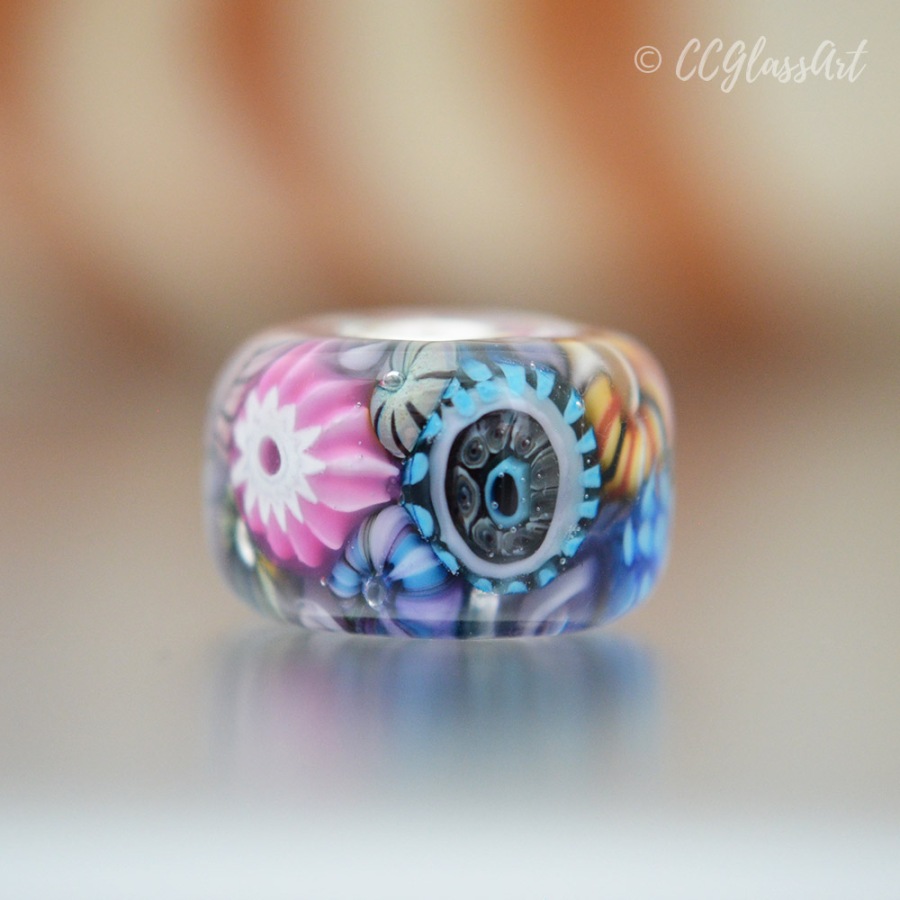
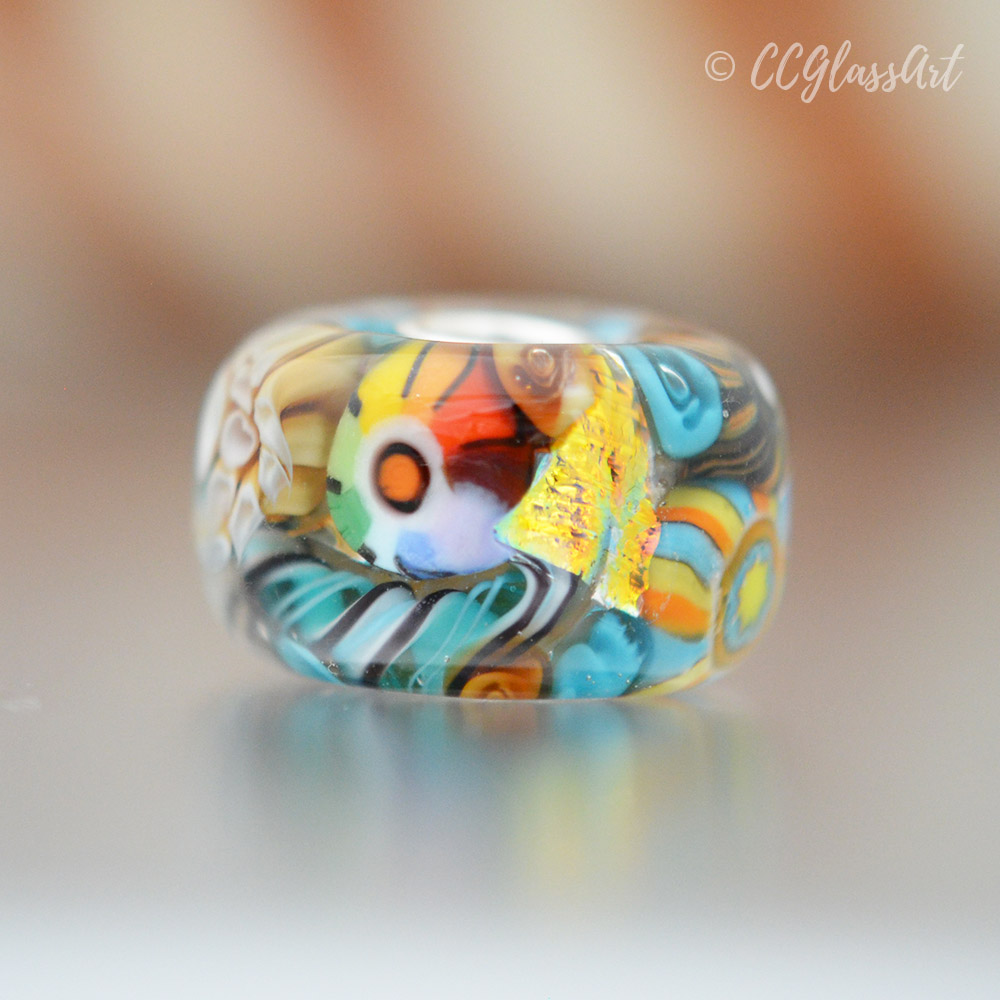
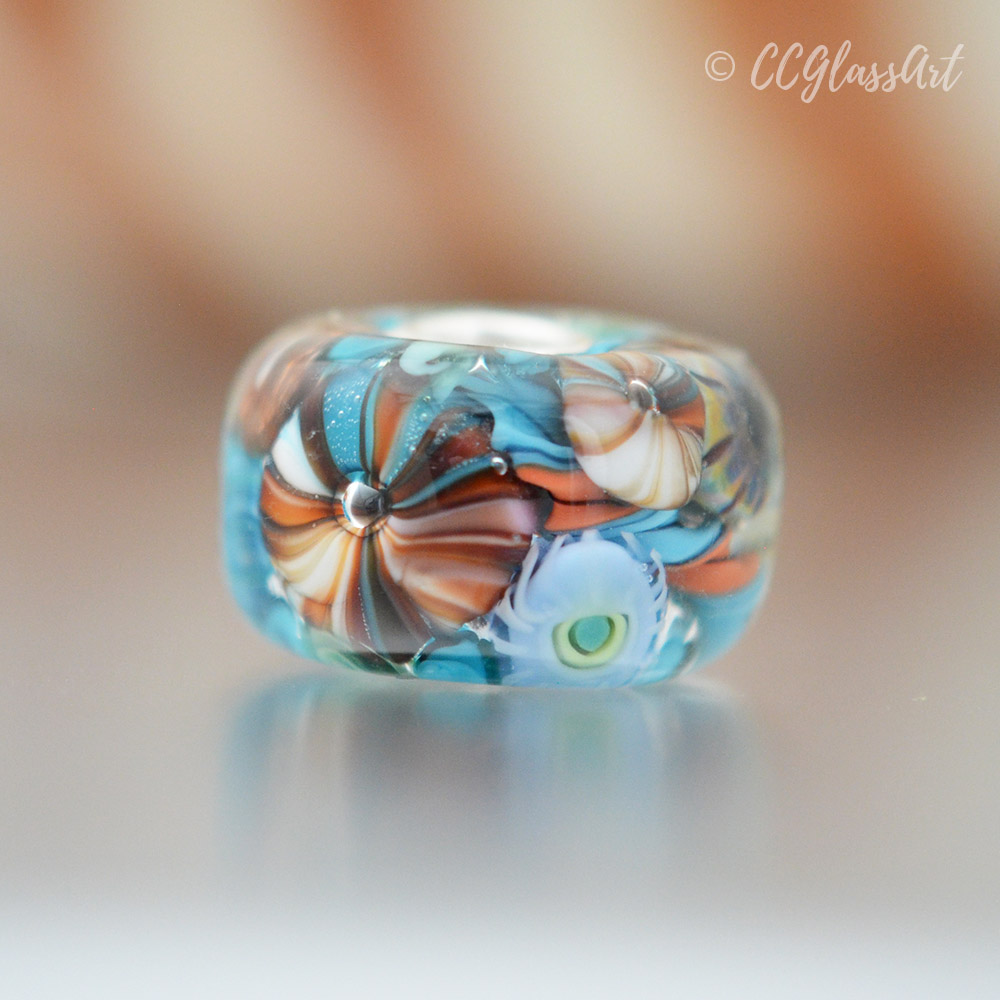
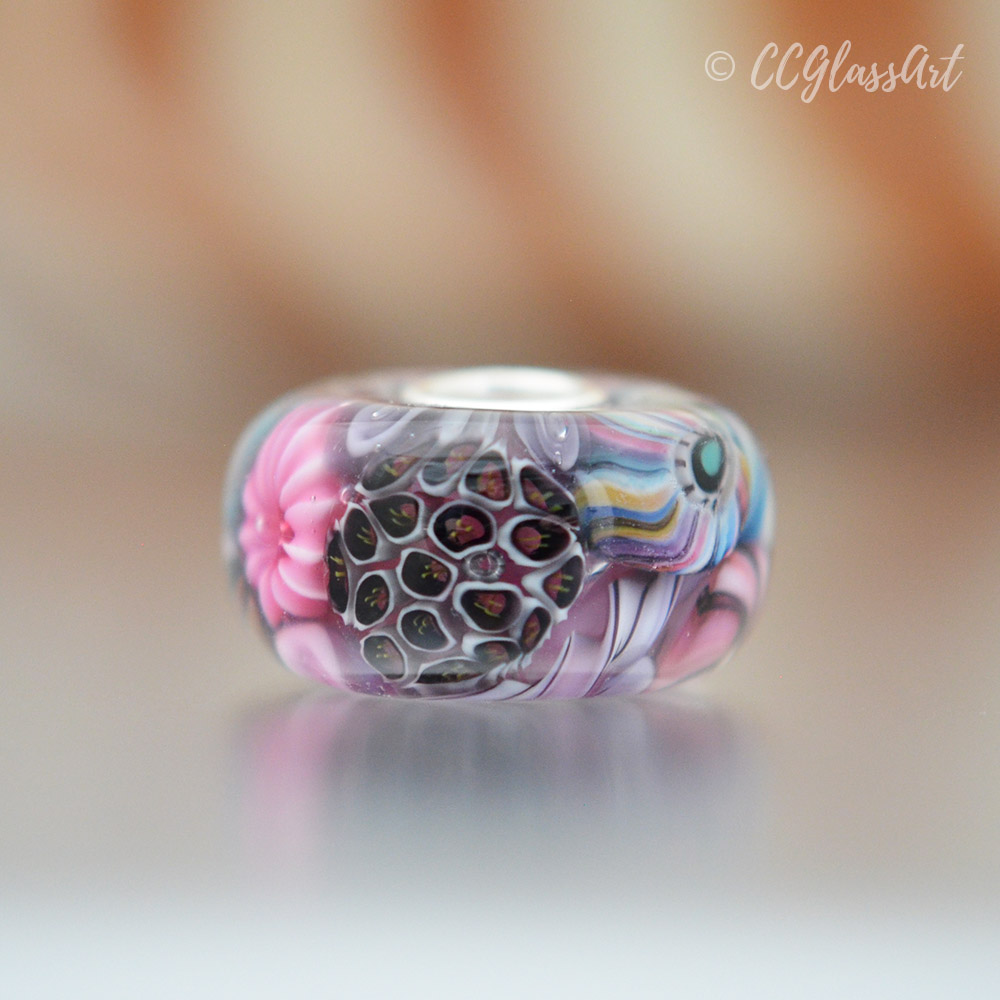
This bead drop features all big-hole beads that fit the thicker, euro-style bracelets & necklaces. 🙂

These beads are particularly challenging to make as I’m squeezing in as many tiny elements as I possibly can into a very small space.

But all the nerve-wracking moments are definitely well worth it as the final result is just gorgeous, (if I do say so myself 😉 … Sometimes I even knock my own socks off! LOL! 😀

One thing to note, if you’ve purchased BHB’s from me in the past, is that I’ve made a move to line the hole of these beads with sterling silver inserts which are glued in… versus the solid ss tubing I used to use.

During my ‘bead hiatus’ it seems that the proper sized sterling silver tubing is no longer readily available as it once was. All the suppliers I, (and other bead-makers), used to purchase the tubing from no longer carry this particular size.

I have learned that occasionally a group of beadmakers will get together and go in on a bulk buy so that one of the suppliers will agree to source and sell the tubing. I missed the last bulk buy at the beginning of 2023…and am waiting for notice of the next one.

In the meantime, I am using the best quality, solid sterling silver inserts I can find along with a jeweler’s grade adhesive that is extremely durable and stands up to normal wear and tear. My own BHB’s have held up great over the years with the glued inserts, (as I always saved the tubing for beads I sold, not my personal collection.)

The sterling silver inserts still give my beads have that beautiful & professional finish – as opposed to leaving the bead hole unlined, without any inserts. Even though the glass would hold up just fine on a bracelet or necklace without being lined, I simply prefer the look of the holes when finished with sterling silver.

You can currently find all the beads below on Etsy.

Bead Drop: 2-2-24!

I’m back with NEW beads!

It’s been a while since I’ve been able to set aside time to melt glass and I can’t tell you how good it feels to finally exercise my creative muscles again.

I was a bit worried I might have lost my touch and would need some warming up to get back into practice – but I think by now I’ve been doing this for SO long that my hands just know exactly what to do. It was just like riding a bike! 😀

This has been the perfect time of year to jump back in front of my torch since my work schedule hasn’t been crazy-busy, and the weather has been so nice and cool.

I am just having so much fun again leaning into my artistic side and am very excited to share my newest creations with you – (available on Etsy).

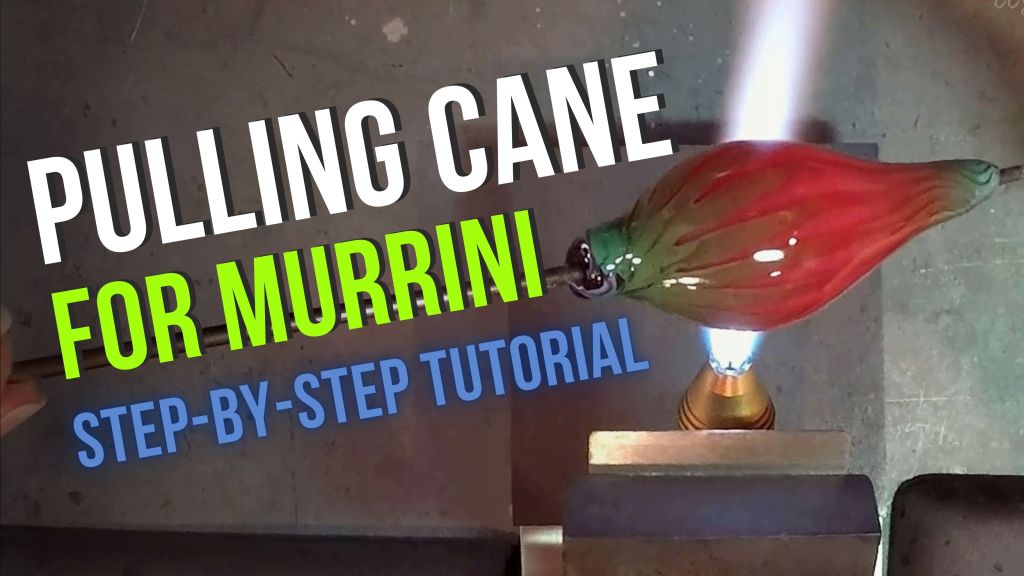
🎥 NEW Video: “Pulling Glass Murrini Cane – Step-by-Step Lampworking Tutorial (BONUS: Making a Twistie at the End!)”

Pulling Cane for Murrini - Step-by-Step Tutorial

Click to view video on YouTube

Pulling Glass Murrini Cane – Step-by-Step Lampworking Tutorial (BONUS: Making a Twistie at the End!)

In this lampworking tutorial video, I walk you through how to successfully pull murrini cane from the point where you evenly heat the gather all the way through the end where you create the cane! (PLUS… how to make a twistie with the waste glass, at the end!)