🎥 NEW Video: “How to POP a BUBBLE in the outer layer of your Glass Murrini Cane without ruining the inner design”

Click to view video on YouTube

How to POP a BUBBLE in the outer layer of your Glass Murrini Cane without ruining the inner design

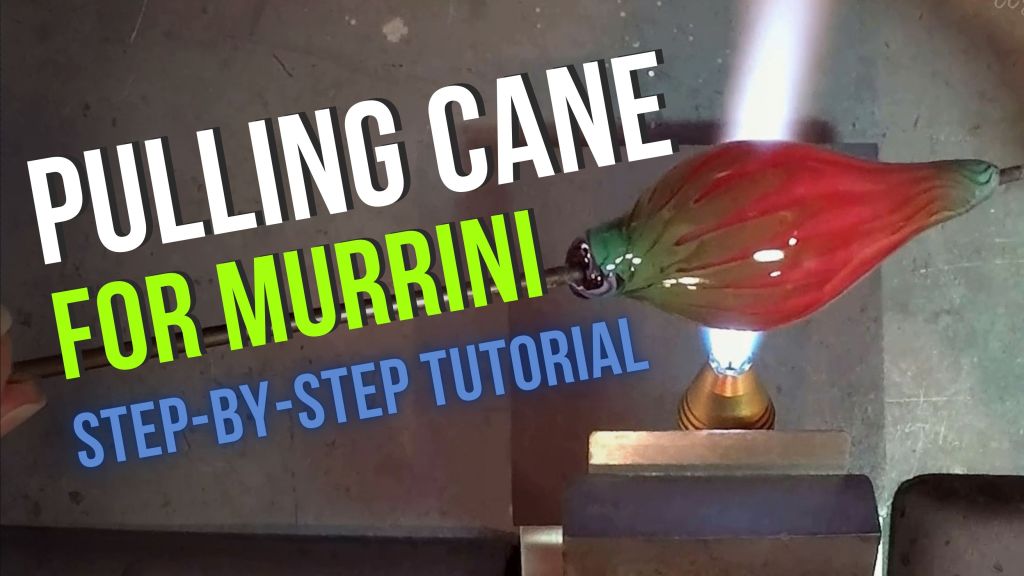
In this lampworking tutorial video, you’ll learn how to gently and carefully pop a bubble that can form in the outer encasing layers of your murrini cane – while at the same time making sure you don’t affect the inner design. It’s important to remove all bubbles around 1mm or larger so they don’t become long channels of air trapped inside your cane that would cause your chips to become shocky or create flaws in your design.

🎥 NEW Video: “Pulling Glass Murrini Cane – Step-by-Step Lampworking Tutorial (BONUS: Making a Twistie at the End!)”

Pulling Cane for Murrini - Step-by-Step Tutorial

Click to view video on YouTube

Pulling Glass Murrini Cane – Step-by-Step Lampworking Tutorial (BONUS: Making a Twistie at the End!)

In this lampworking tutorial video, I walk you through how to successfully pull murrini cane from the point where you evenly heat the gather all the way through the end where you create the cane! (PLUS… how to make a twistie with the waste glass, at the end!)

VIDEO – 8 Layer Glass Art Murrine Cane for Lampwork Beads Demo

I know how much fun it is to get a peek behind the scenes and watch the process of art being created. So, I love to make these videos when I can that show more of the process of how I make my murrine cane.

One of the main components in all my handmade glass art lampwork beads is murrini! I love the intricate designs and interest small murrini chips can add to beads. I especially love how they look under a clear glass encasement.

In this video I demonstrate how I create a complex, 8 layer full-size cane which will be cut down into smaller murrini chips and added to my handmade beads one-by-one.

Enjoy! 😀

Christina
CCGlassArt

Featured

Video: Making a Reactive Silver Glass Raised Dot Bead

In this video I demonstrate how I create an encased silver glass bead with tiny raised dots on the surface.

With the right type of flame, the silver in the silver glass is brought to the surface of the bead causing it to develop a slightly metallic sheen. Once I see that sheen I quickly and carefully capture that luster beneath a layer of crystal clear glass.

After encasing, and shaping and smoothing the bead, I apply three rows of alternating dots with a silver glass stringer pulled thin.

It takes a steady hand to get the dots just right! 😀

Once applied, the raised glass dots are spun through the heat of the flame just enough to allow them to melt about half way down. If they were not melted in far enough the dots would be at risk of being popped off when worn. But melting them too far down can cause them to lose their dimension and disappear into the bead altogether. It’s a tricky balance between too much and too little heat.

I hope you enjoy watching me work at the torch! 🙂

Christina
CCGlassArt

Video: Watch Me Make a ‘Hollow’ Murrini Cane!

Watch me melt glass and play with fire! In this video I work step-by-step to create a hollow-looking murrini cane. I include narration throughout, so you might learn a little something along the way, (but if you get tired of hearing me talk, feel free to mute the video – haha). 😀

*Click here (or the image below) to view the video on YouTube in a new window*

Making a 'hollow' core murrini cane for lampwork glass beadsThanks for watching 😀