Featured

November 2024 Recap: Beads, Beads, Beads

We had our first rain of the season this week… After such a long and hot summer, we really needed it. It won’t be long before the dry, brown hills all around us begin to turn green again!

In the meantime, I will be enjoying more time at the torch experimenting with some brand-new glass colors I recently received… and, of course, making more beads! 😀

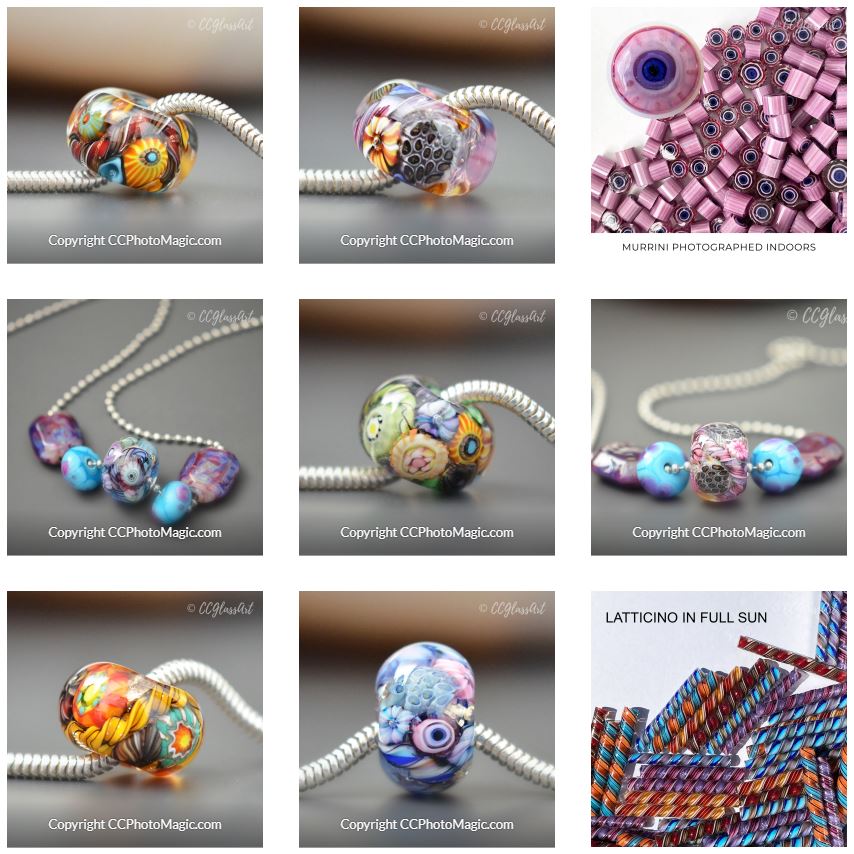
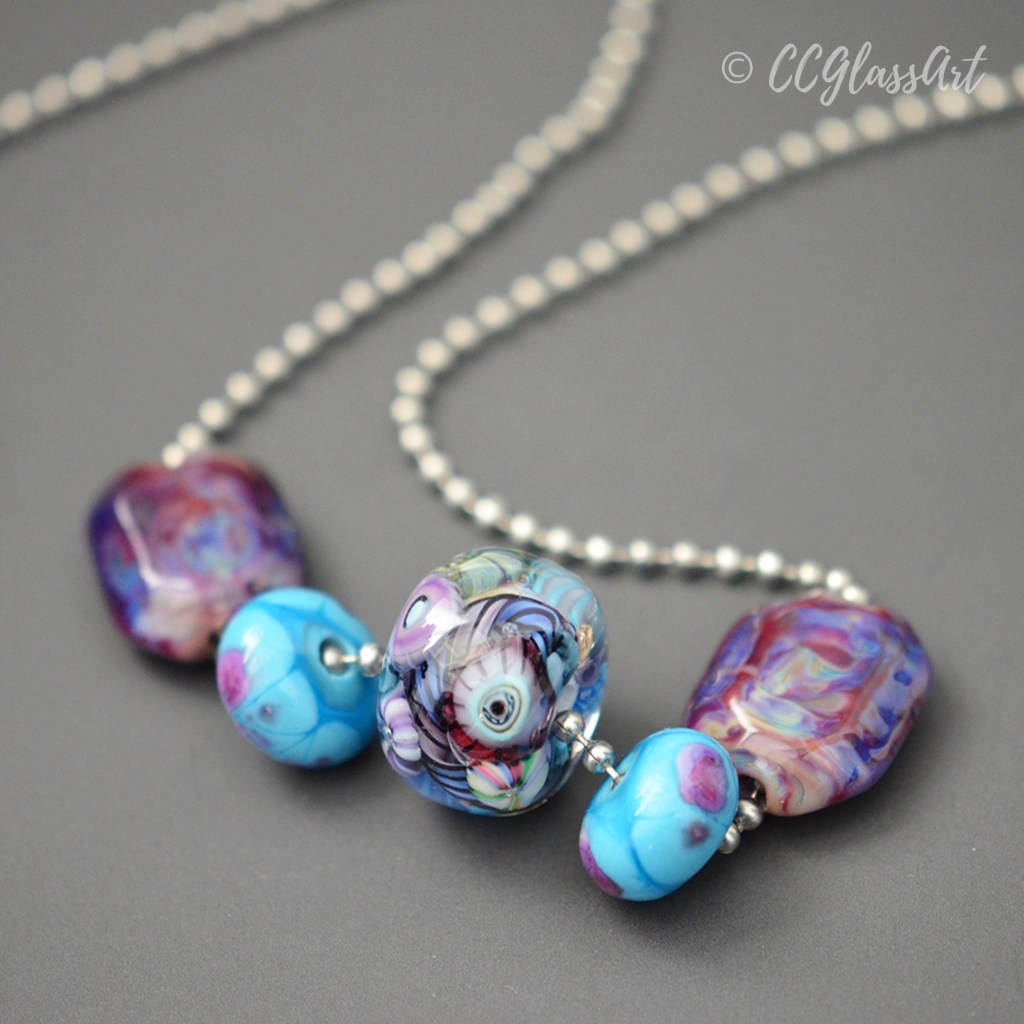
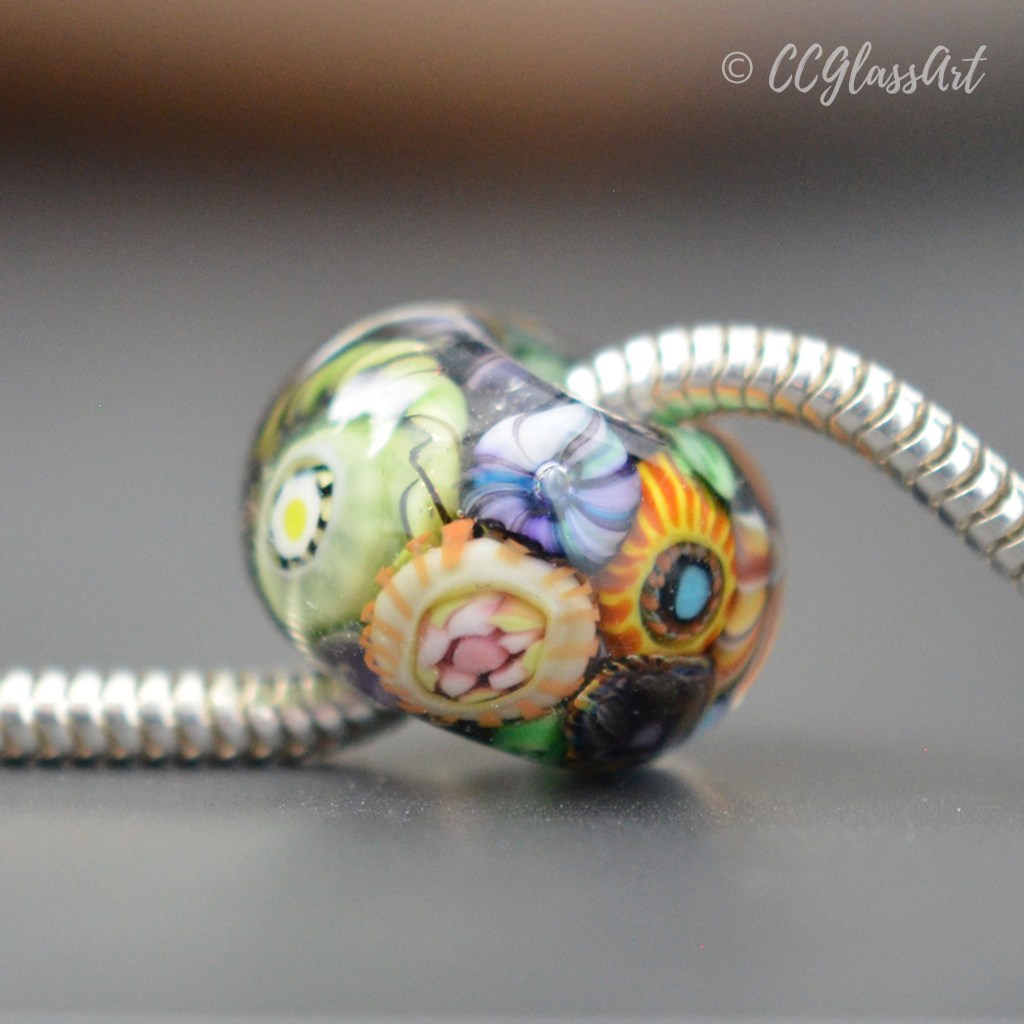
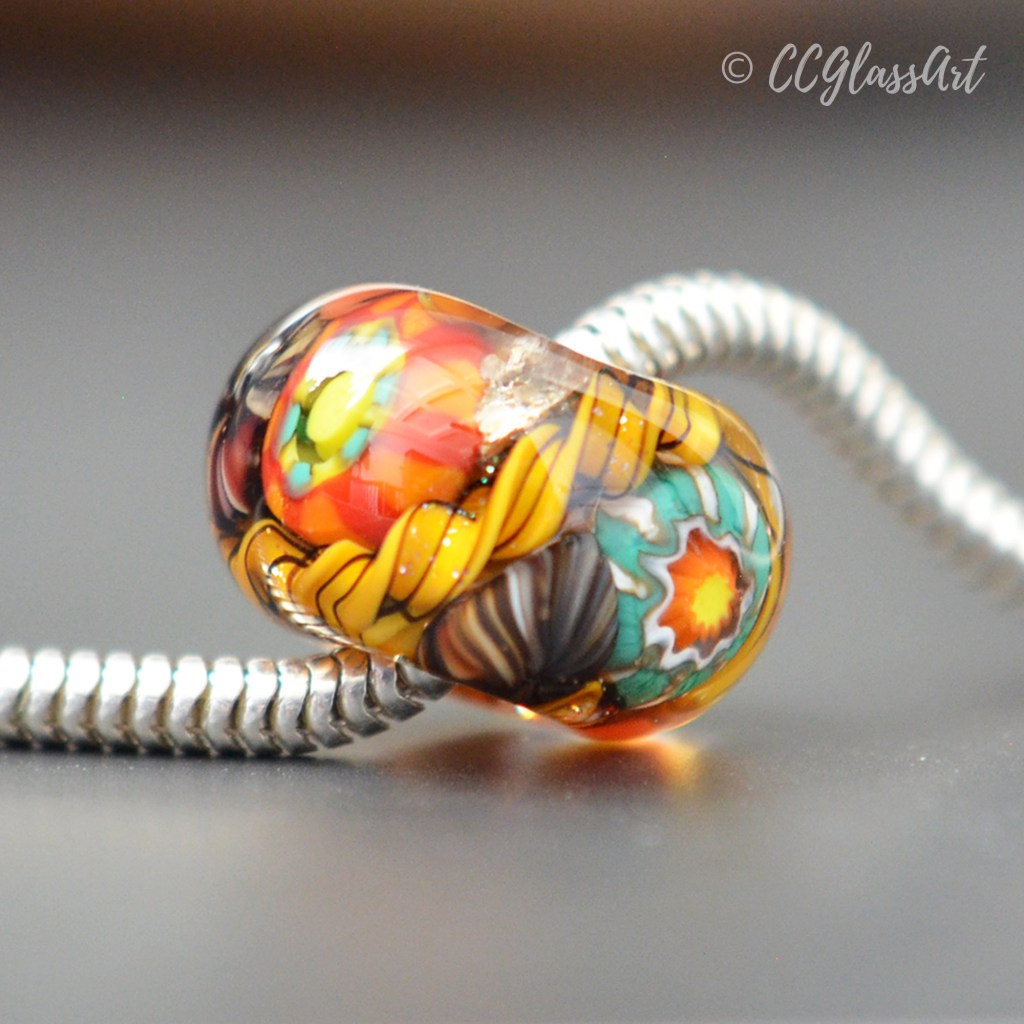
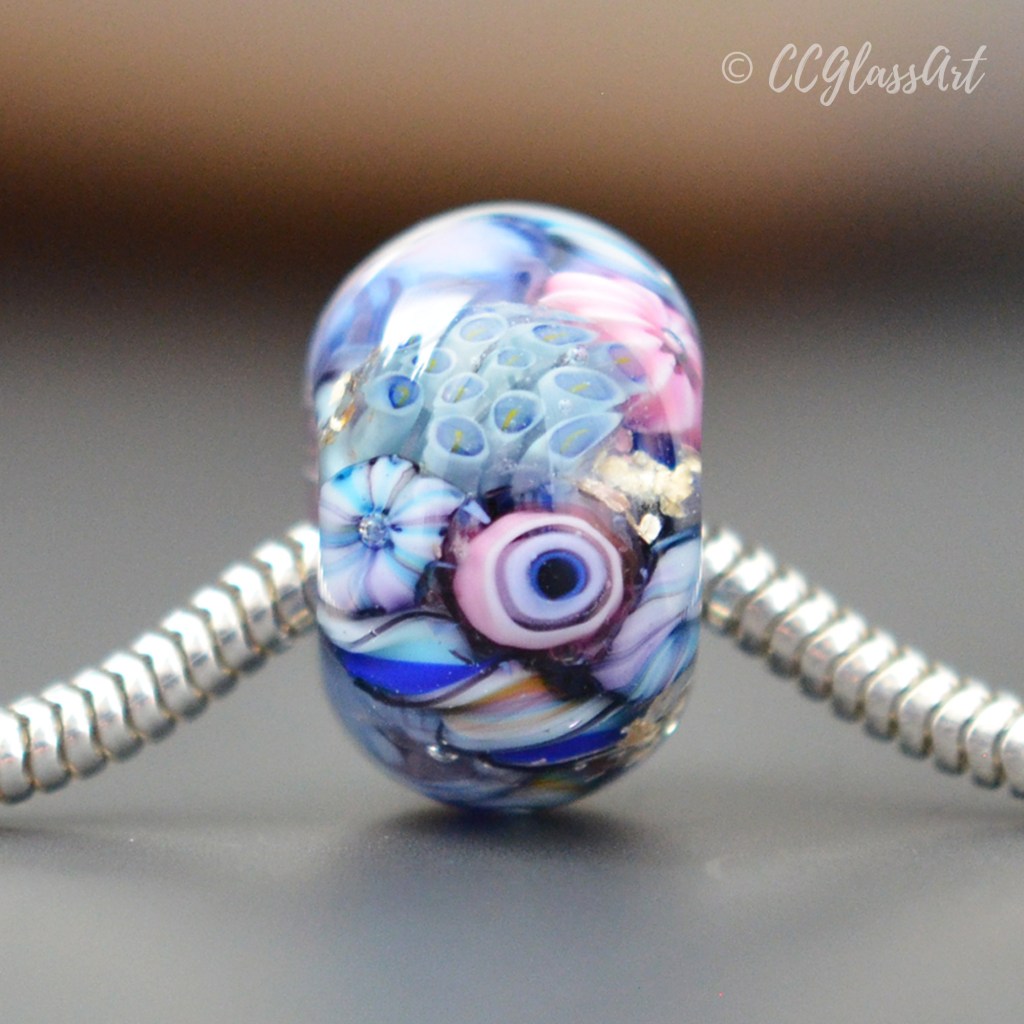
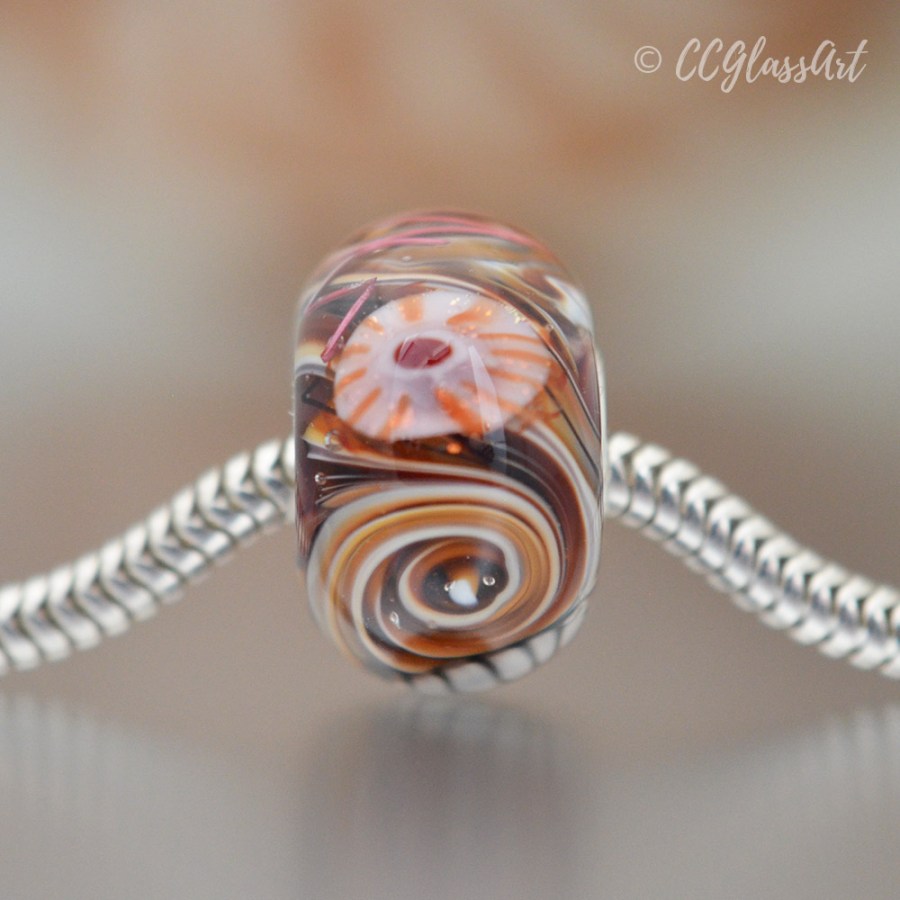
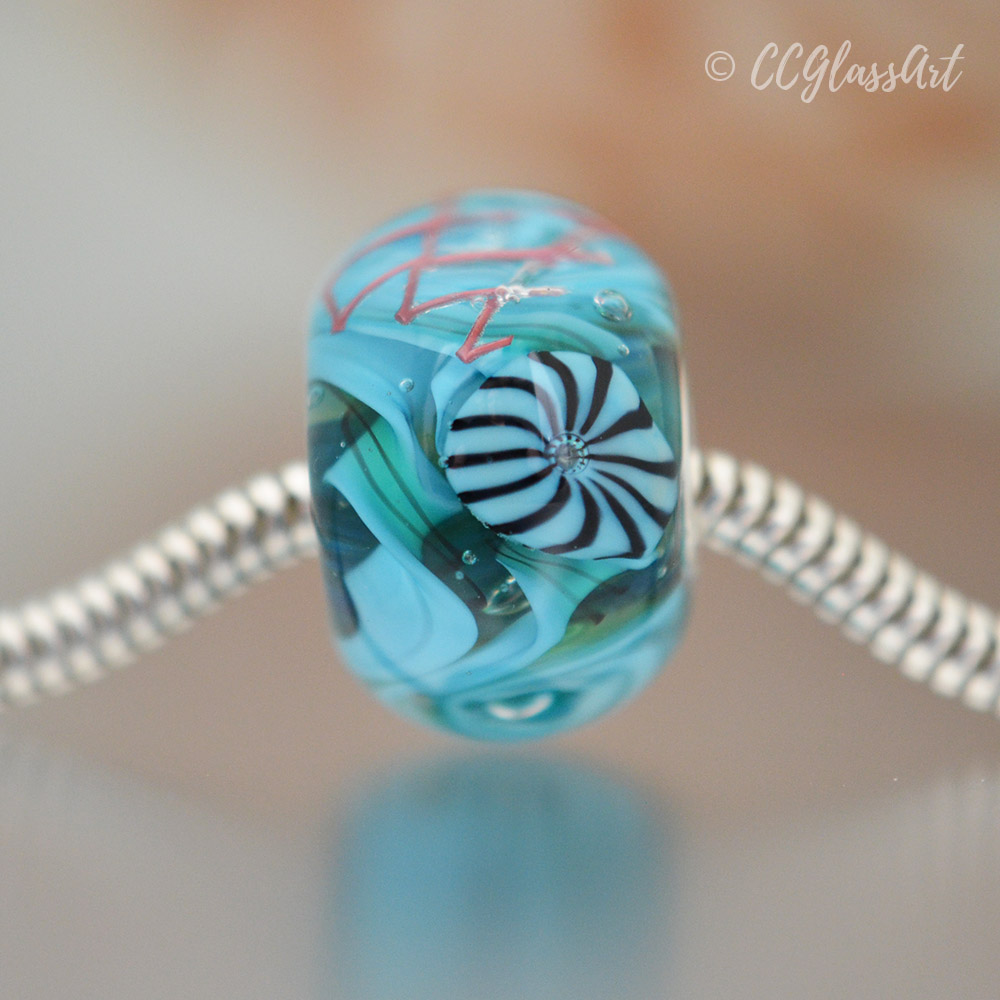
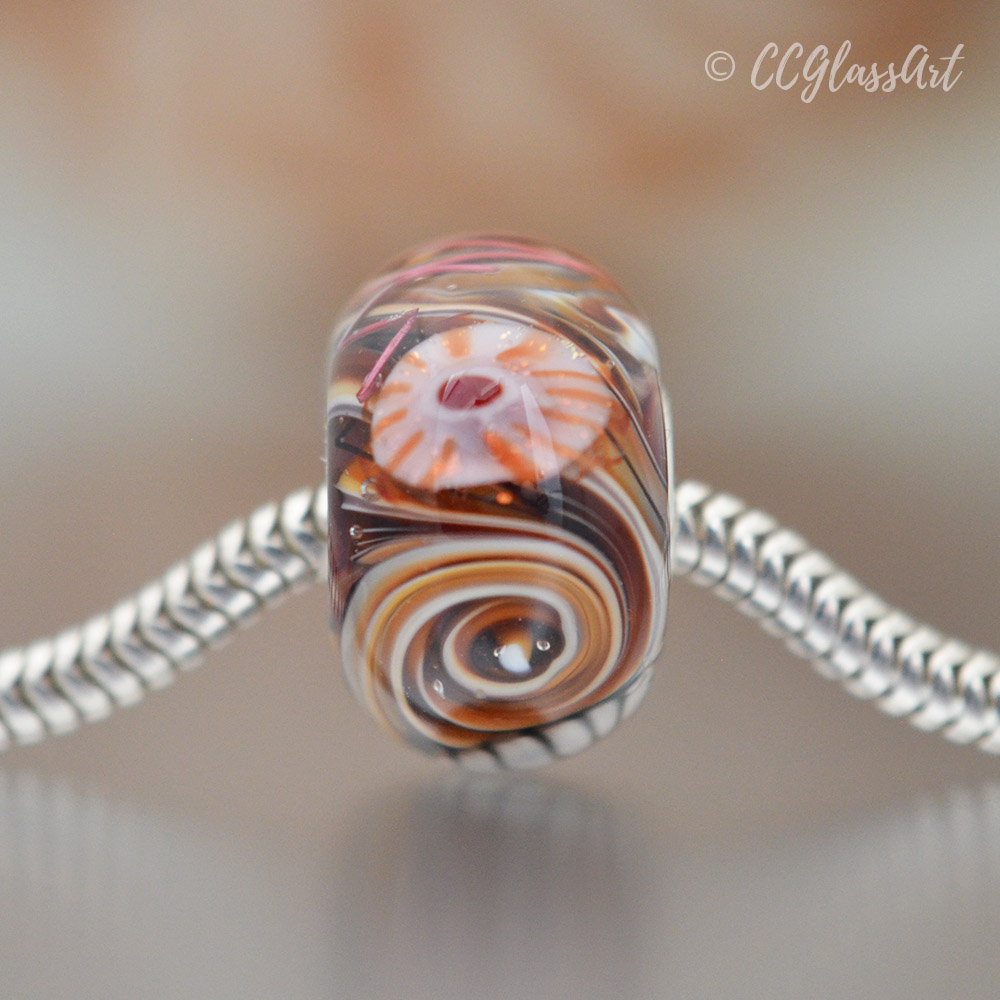
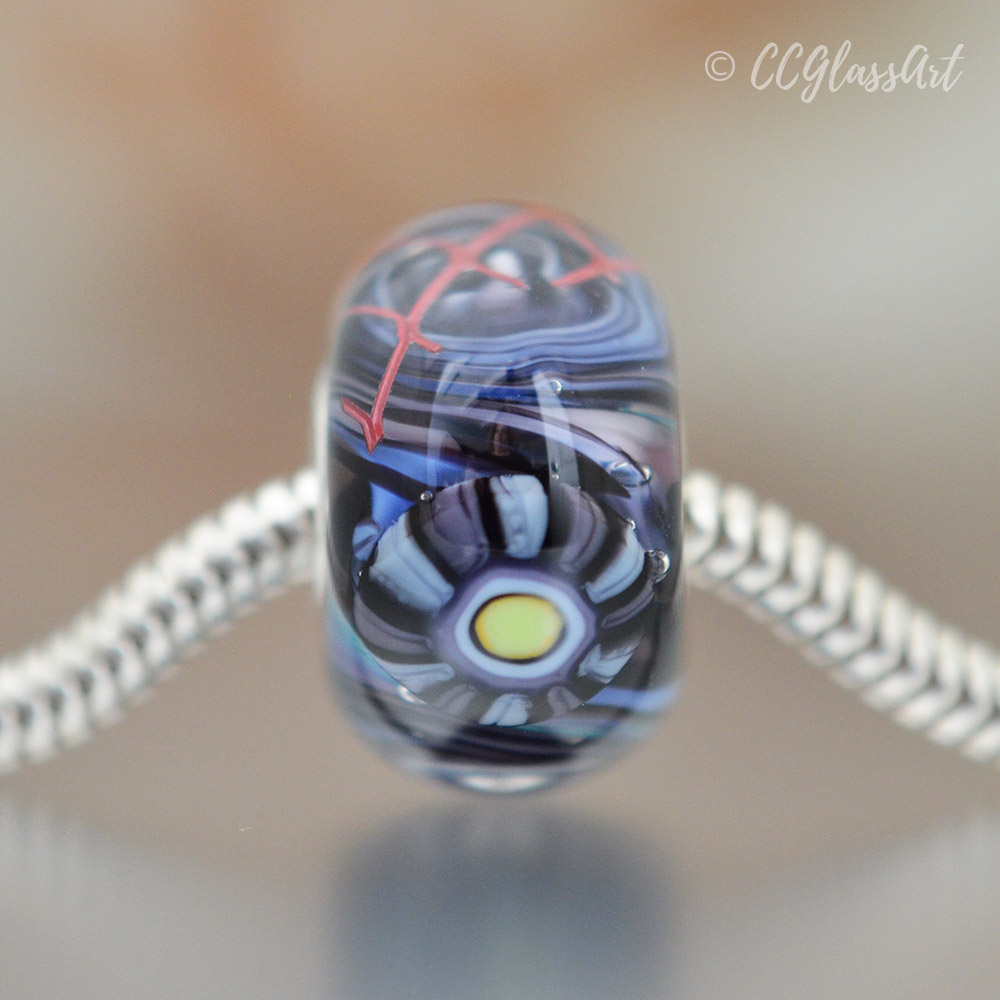
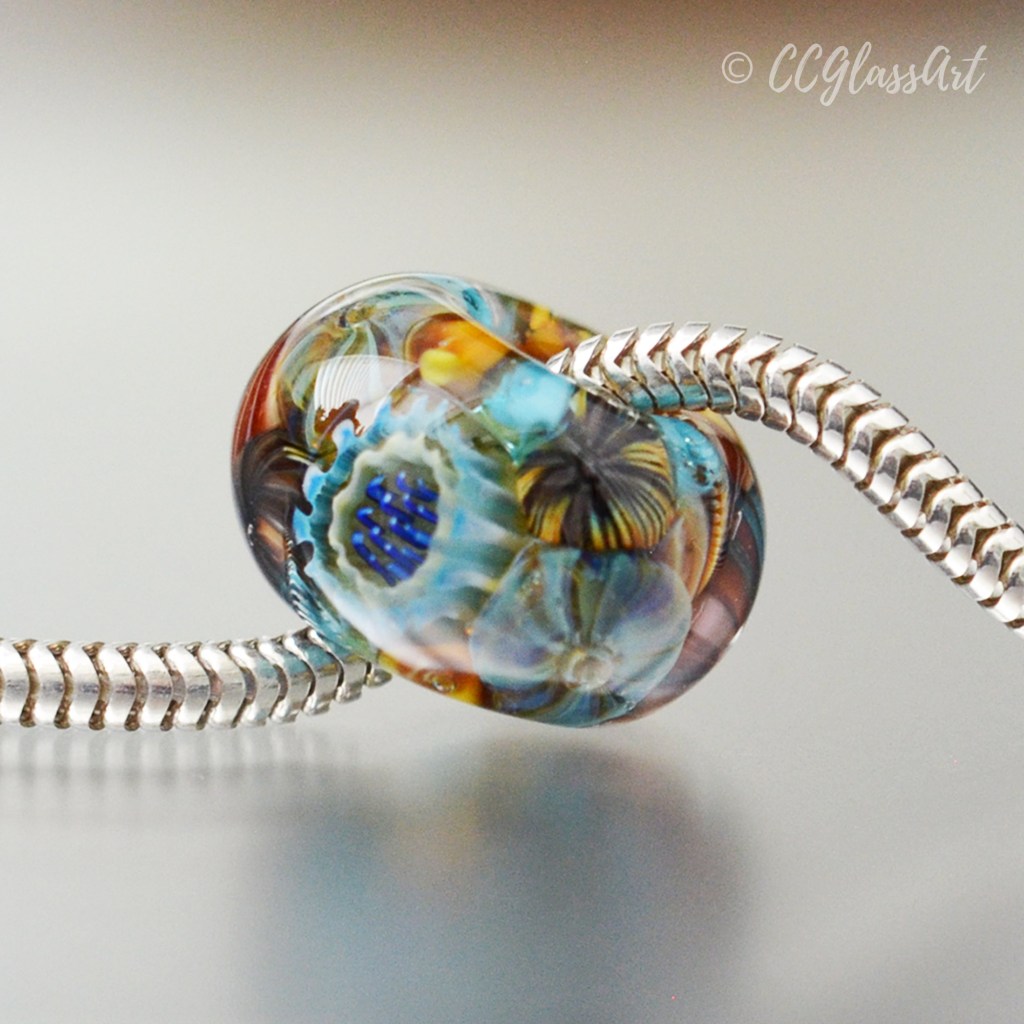
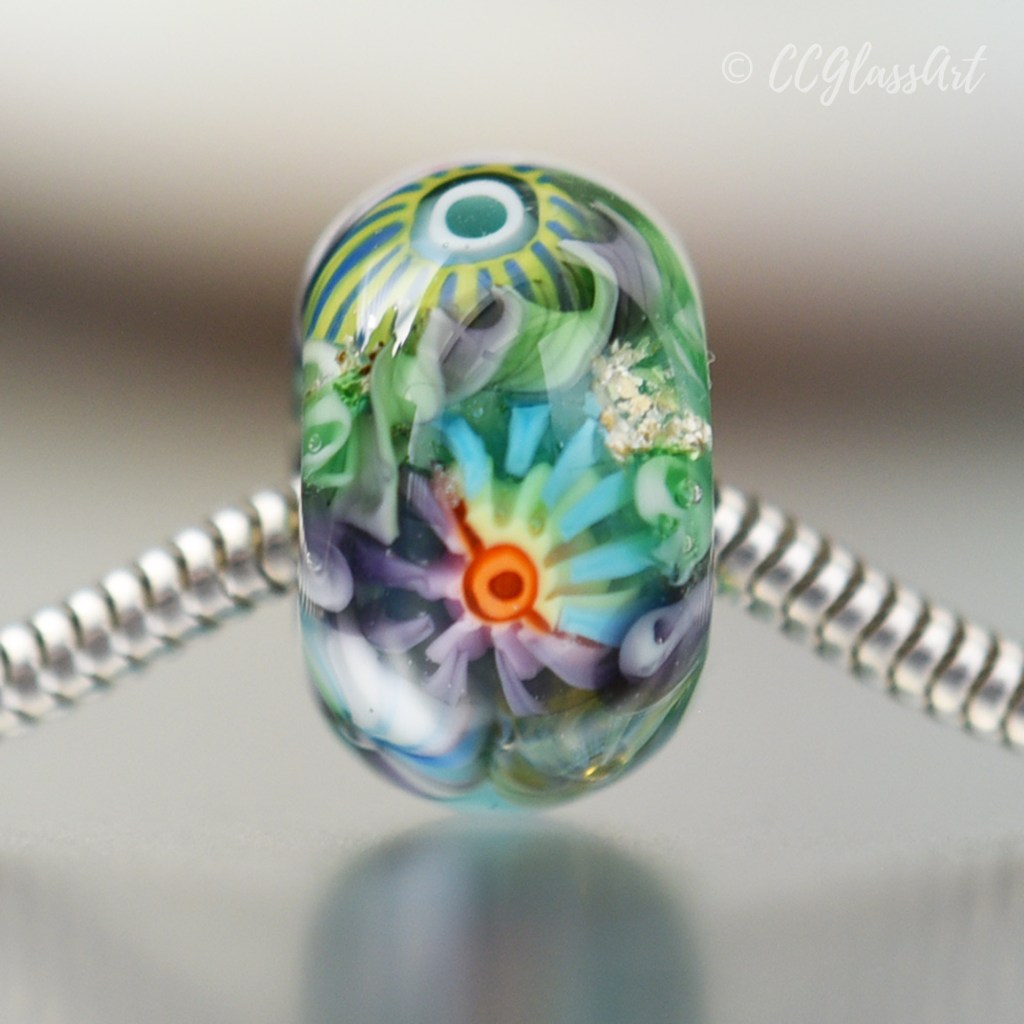
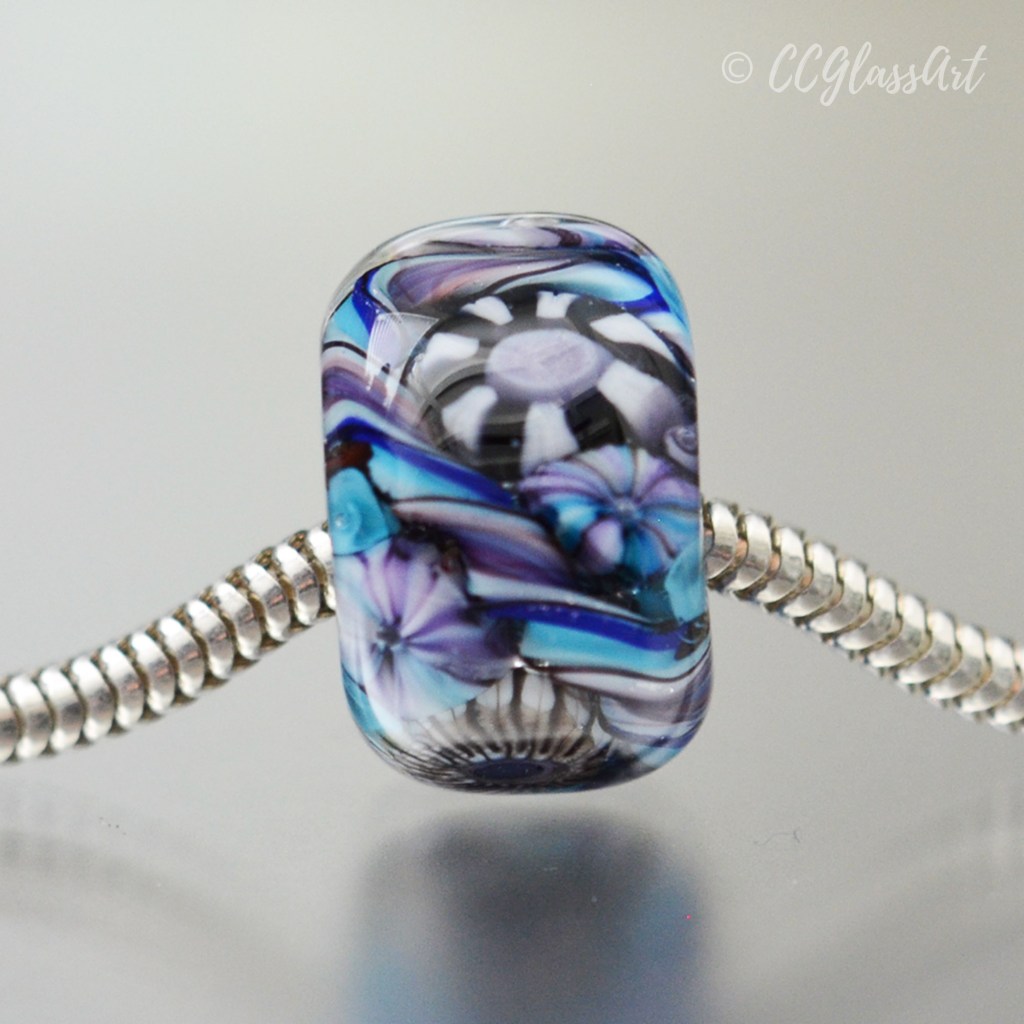
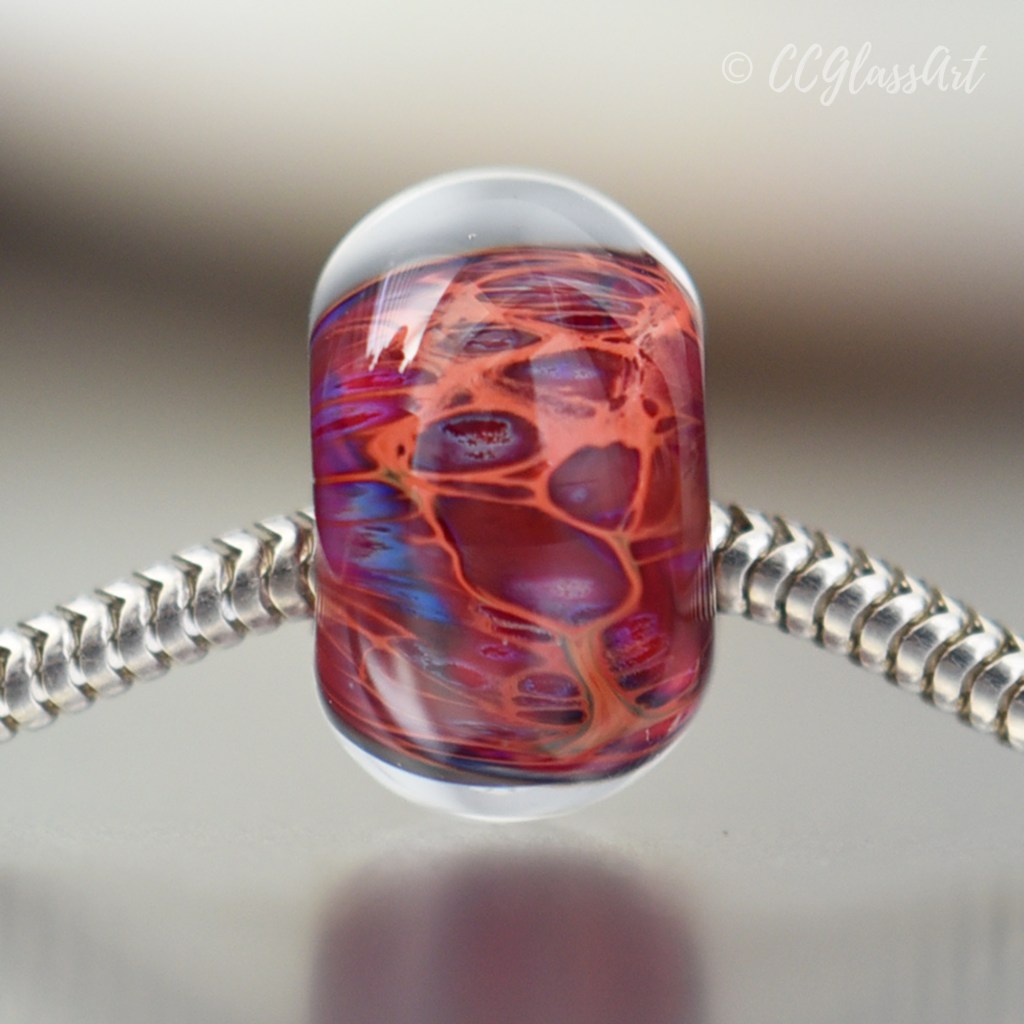
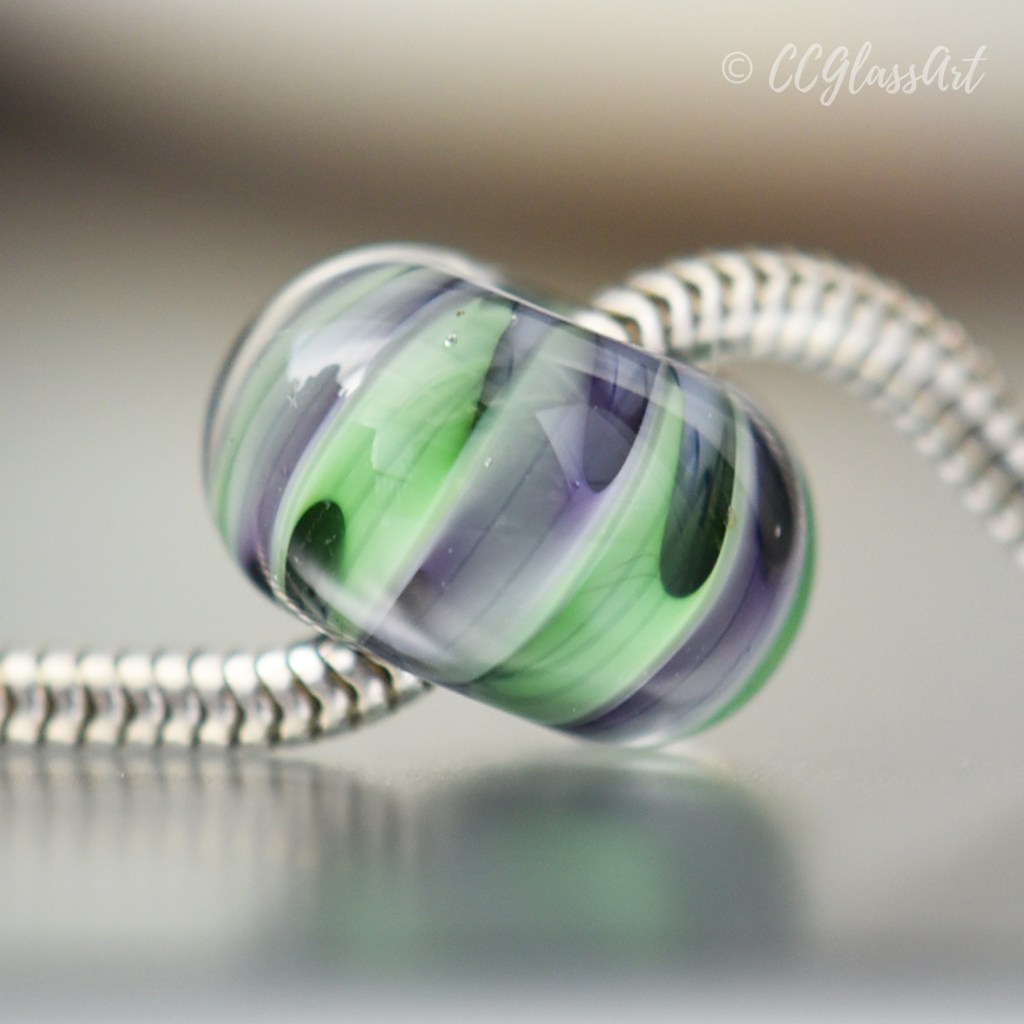
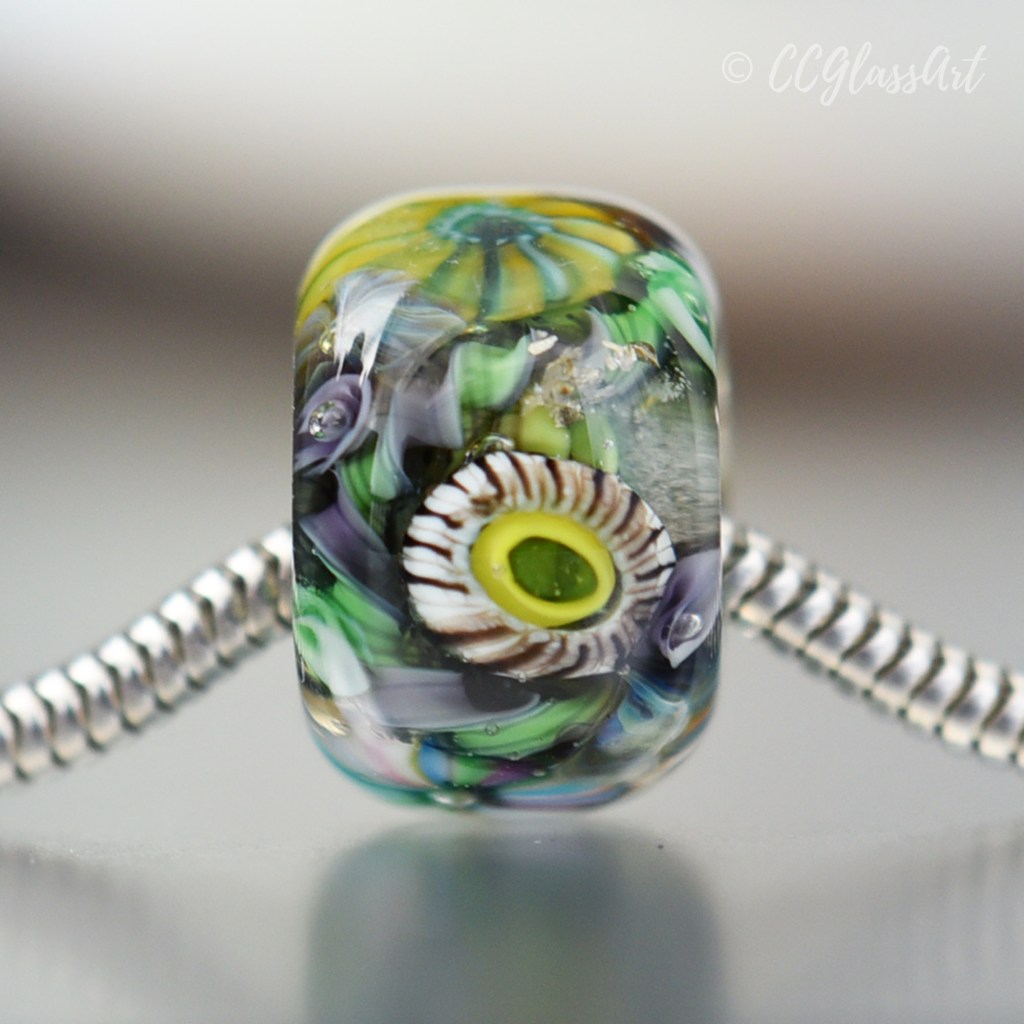
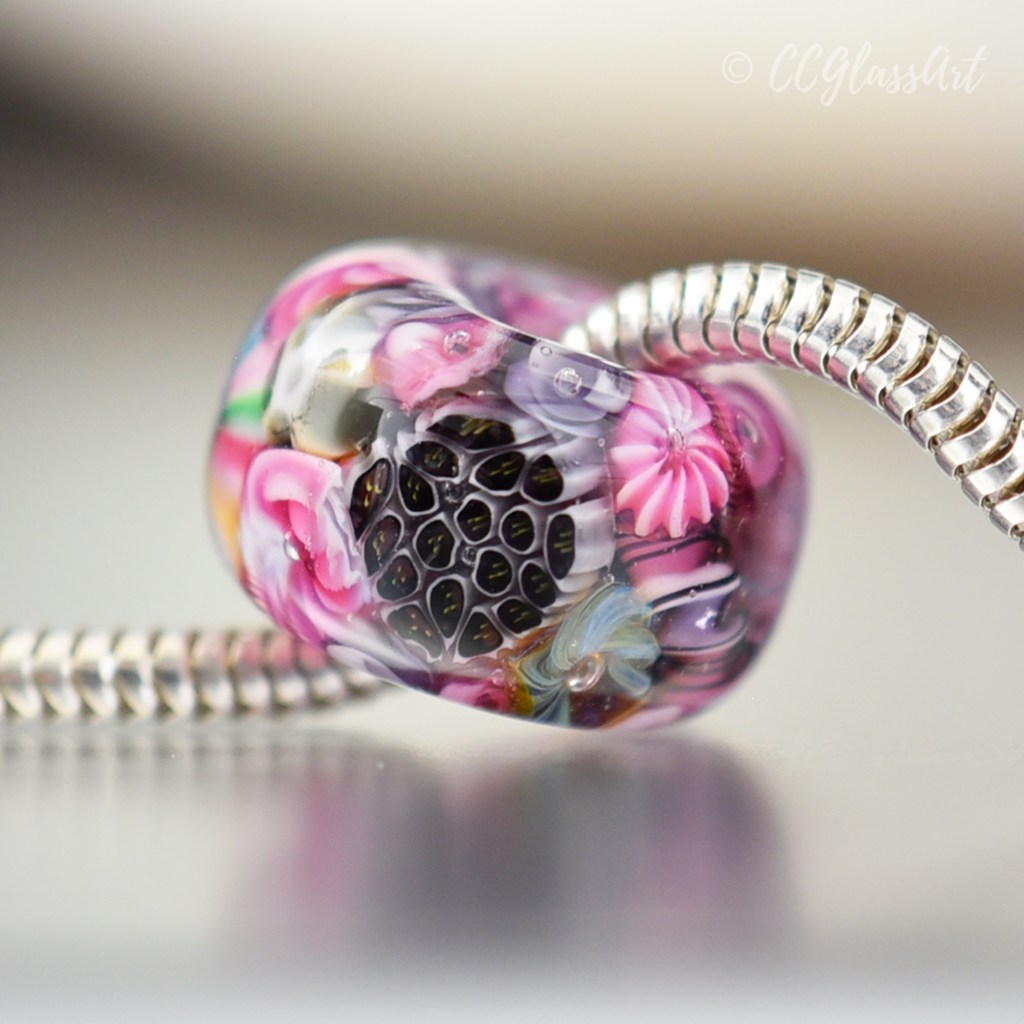
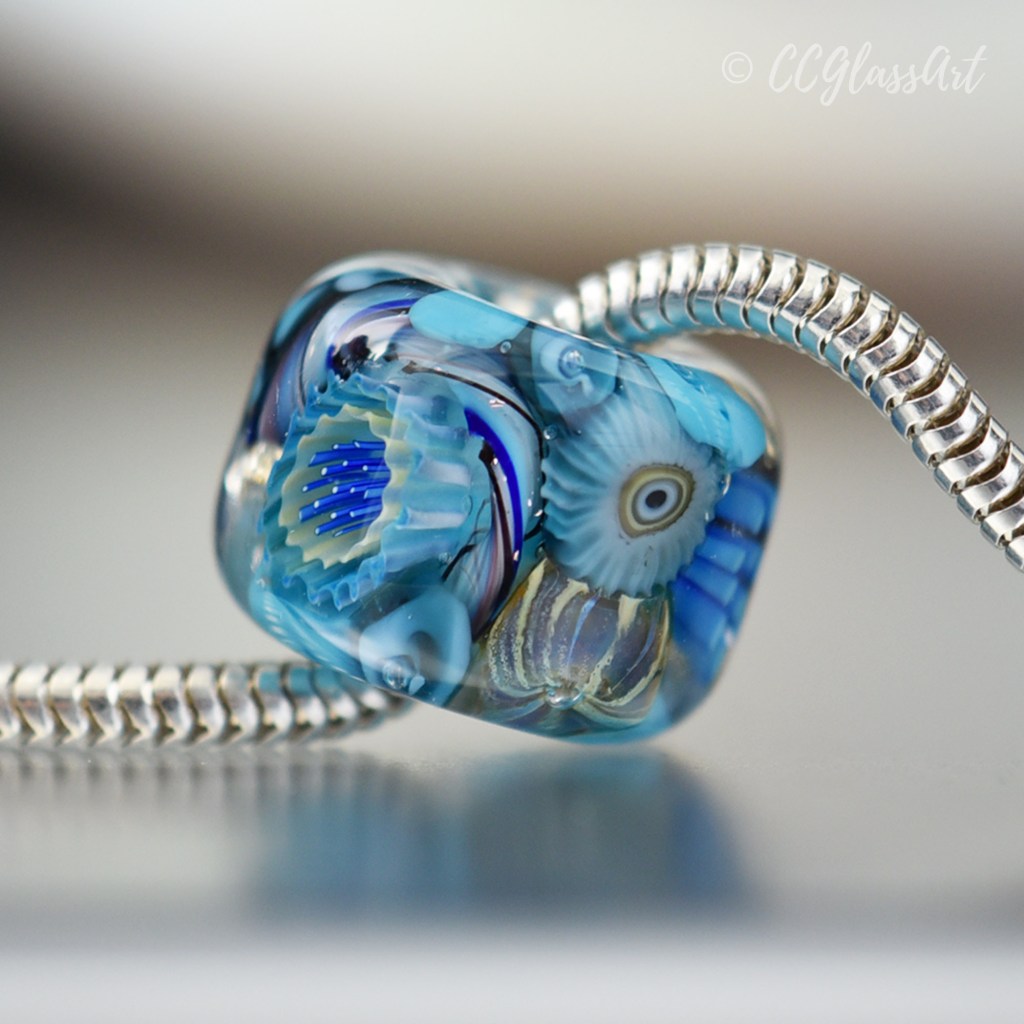
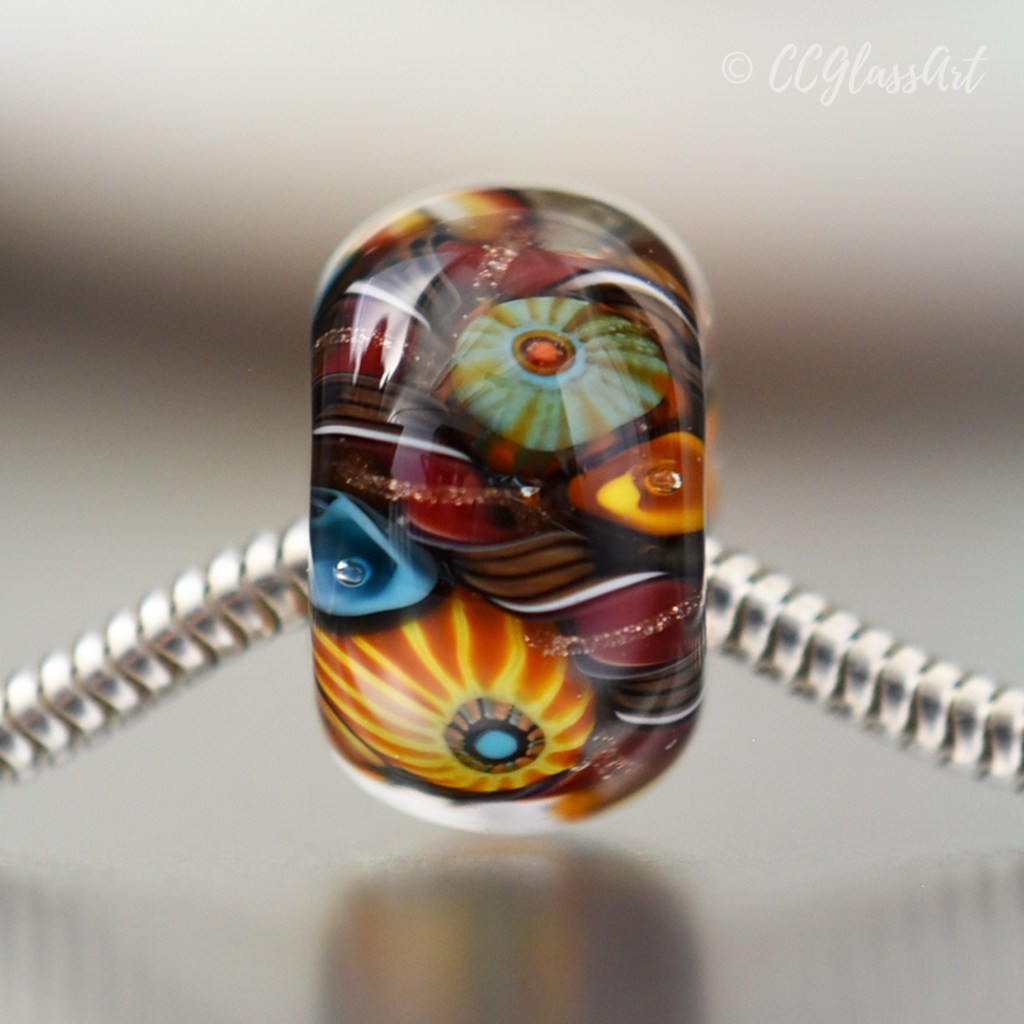
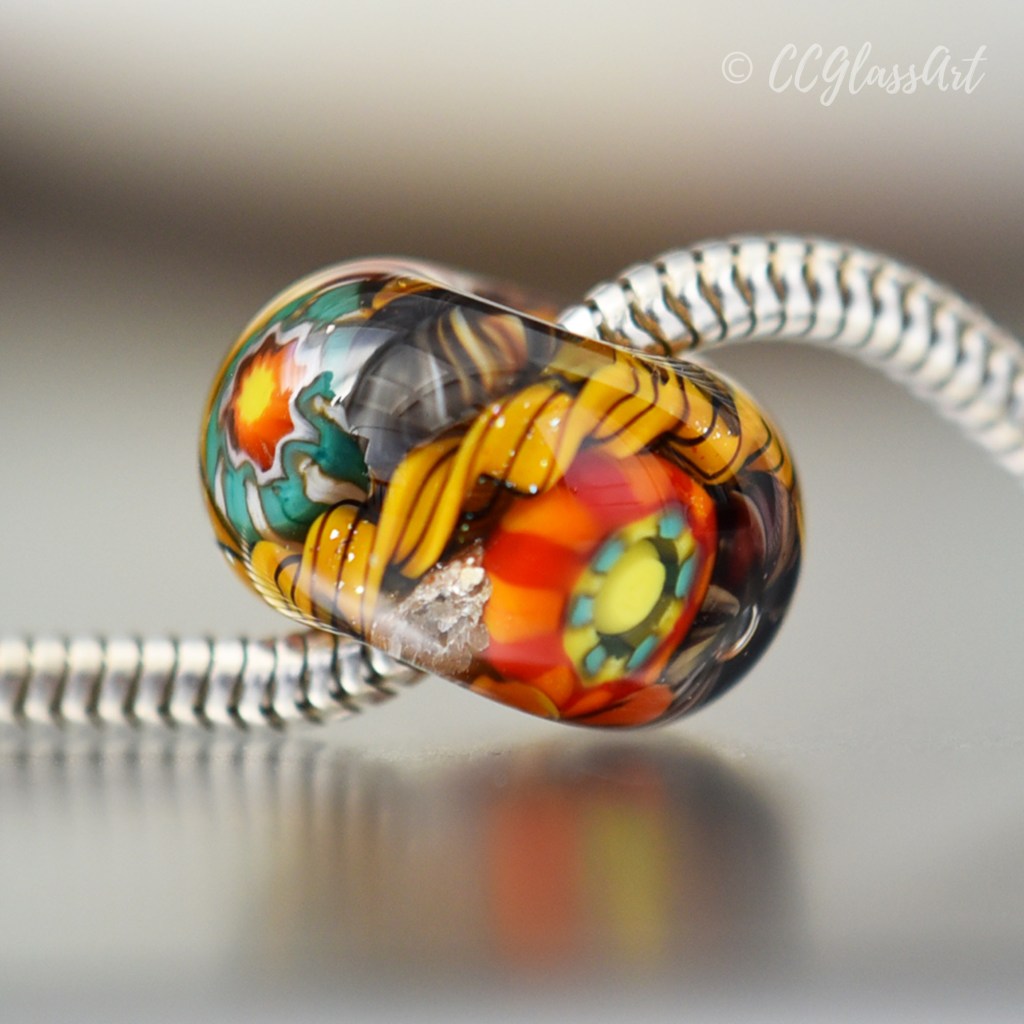
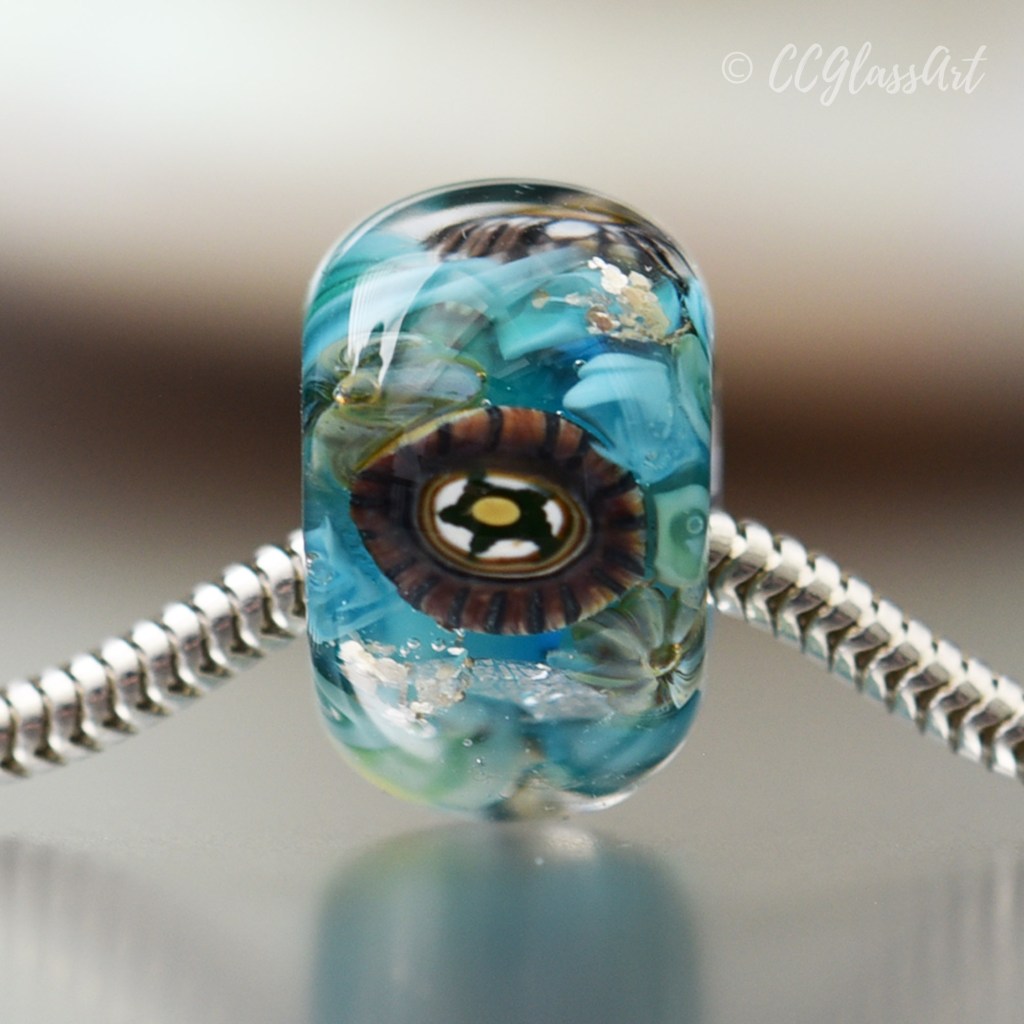
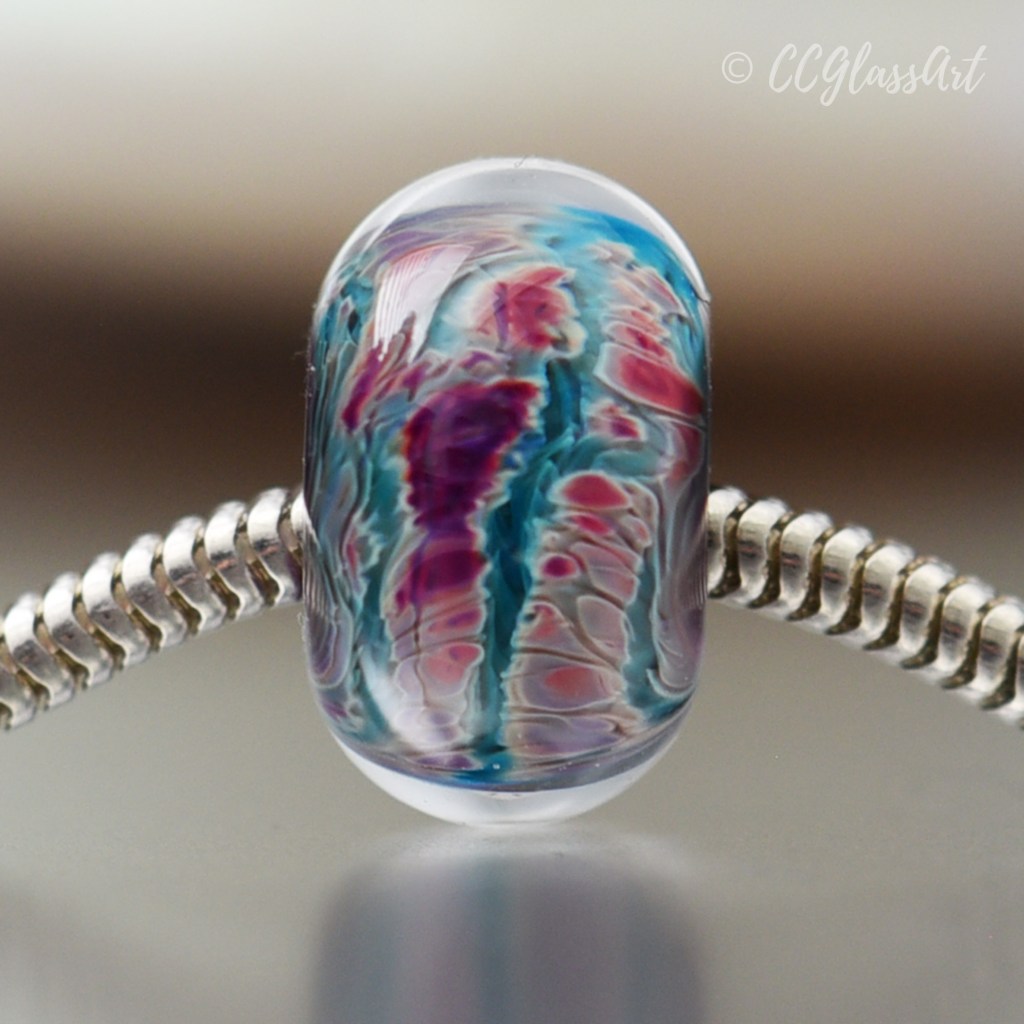
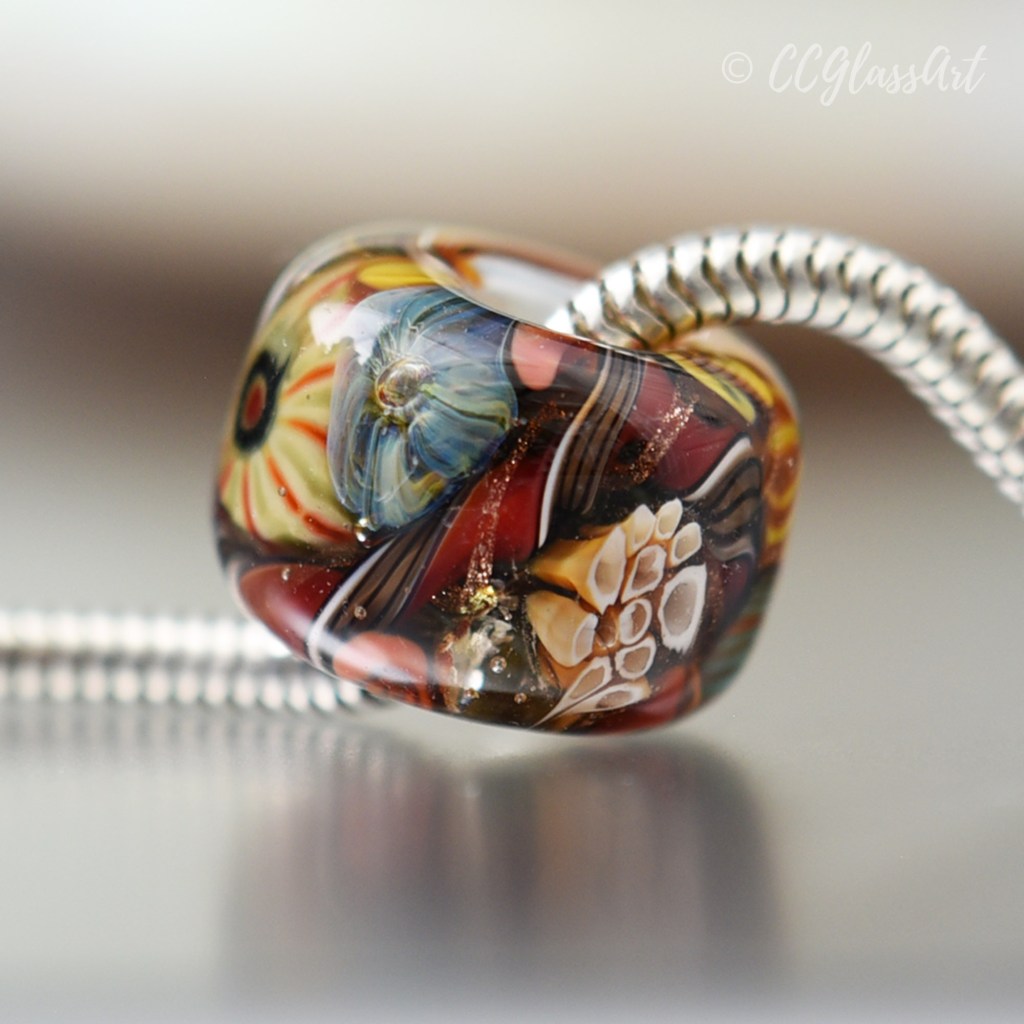
Here are some photos of recent beads I’ve made. I’ve also included links to a couple of my most recent YouTube videos as well…

Thanks so much for subscribing to my blog and for your interest in my glass work!

Christina 🙂

P.S. For the latest updates, BTS videos, photos & announcements follow me on Instagram: https://www.instagram.com/ccglassart_ or Facebook: https://www.facebook.com/ccglassart

October 2024 Recap: Beads, Murrini & Latticino

Thanks to my amazing husband, who installed a mini air conditioning system in my studio this year, I was able to torch all the way through the hot summer months. Including this month, which brought us record breaking temps that hovered around 100 degrees most days in October! 😛

Lately I’ve been focusing on my favorites… Encased murrini beads! I’ve also spent some time creating new murrini designs and latticino. I’ve even added a new DEMO video to my YouTube channel. 😀

You can catch up with everything I’ve created this month through the photos below:

Thanks so much for subscribing to my blog and for your interest in my glass work!

Christina 🙂

NEW XL Marble-Style FOCAL Beads

After my disappointing experience attempting to make paperweights, (which I will get the hang of eventually!)…. I am back to making what I know and love –> encased murrini BEADS!

This time, instead of small bracelet sized beads – these are nice BIG FOCAL-size beads with LOTS of embedded elements including handmade murrini & latticino. PLUS, sparkly extras like color-shifting dichroic glass, shimmering goldstone and real GLITTER!

Focal sized handmade encased murrini glass beads.

The goal with my encased murrini beads is to create TONS of visual interest so there is something new to look at from every angle. I want my beads to be a kaleidoscope of color & design that look just as good indoors as they do in full sun!

You can view additional photos and learn more about these beads on Etsy.

Thanks for looking!

Christina 🙂

🔥  Bead Drop: 2-23-24 (Revisiting past designs)

Years ago, I developed a bead series called Neptune’s Net. There’s actually a restaurant in Malibu, CA that was the inspiration for this series…

There are 2 key components to these beads… handmade latticino (aka glass twisties) and real copper mesh.

What I love about working with latticino is that the twisted glass offers SO much depth and dimension when encased under a layer of clear glass. It’s a BIG visual impact for a such a small element.

To give these beads their ‘Net’ I use copper mesh – which is not so fun to work with, actually… LOL! 😀

Copper mesh can burn up in the flame in an instant if you’re not careful. And when applying and encasing it you have to make sure all the little cut ends of the mesh don’t poke out of the bead!

But the end result is worth it.

Another series I’ve brought back, and developed a bit further, is my Feather Series.

I have been inspired to bring this series back by a pair of eagles nesting in Big Bear, CA.

I am just fascinated with how they interact with each other and how well they take care of their eggs. Even through snow-storms like this one a couple weeks ago…

(You can watch them on the ‘eagle cam’ here https://www.friendsofbigbearvalley.org/eagles/ . They have 3 eggs that are scheduled to hatch in the next week or two!)

I’ve included photos of all my new beads below… (available now on Etsy).

🎥 NEW Video: “How to POP a BUBBLE in the outer layer of your Glass Murrini Cane without ruining the inner design”

Click to view video on YouTube

How to POP a BUBBLE in the outer layer of your Glass Murrini Cane without ruining the inner design

In this lampworking tutorial video, you’ll learn how to gently and carefully pop a bubble that can form in the outer encasing layers of your murrini cane – while at the same time making sure you don’t affect the inner design. It’s important to remove all bubbles around 1mm or larger so they don’t become long channels of air trapped inside your cane that would cause your chips to become shocky or create flaws in your design.