Bead Drop: 2-12-24 (BHB’s!)

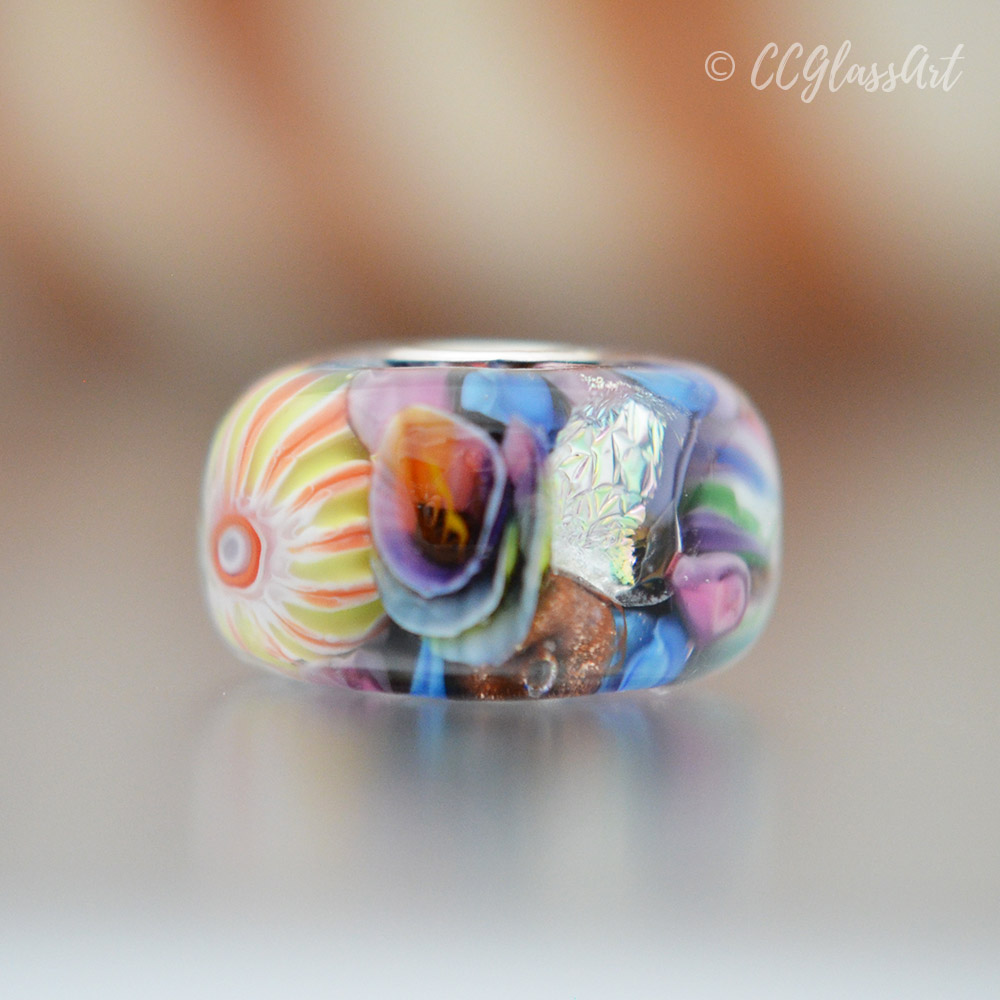
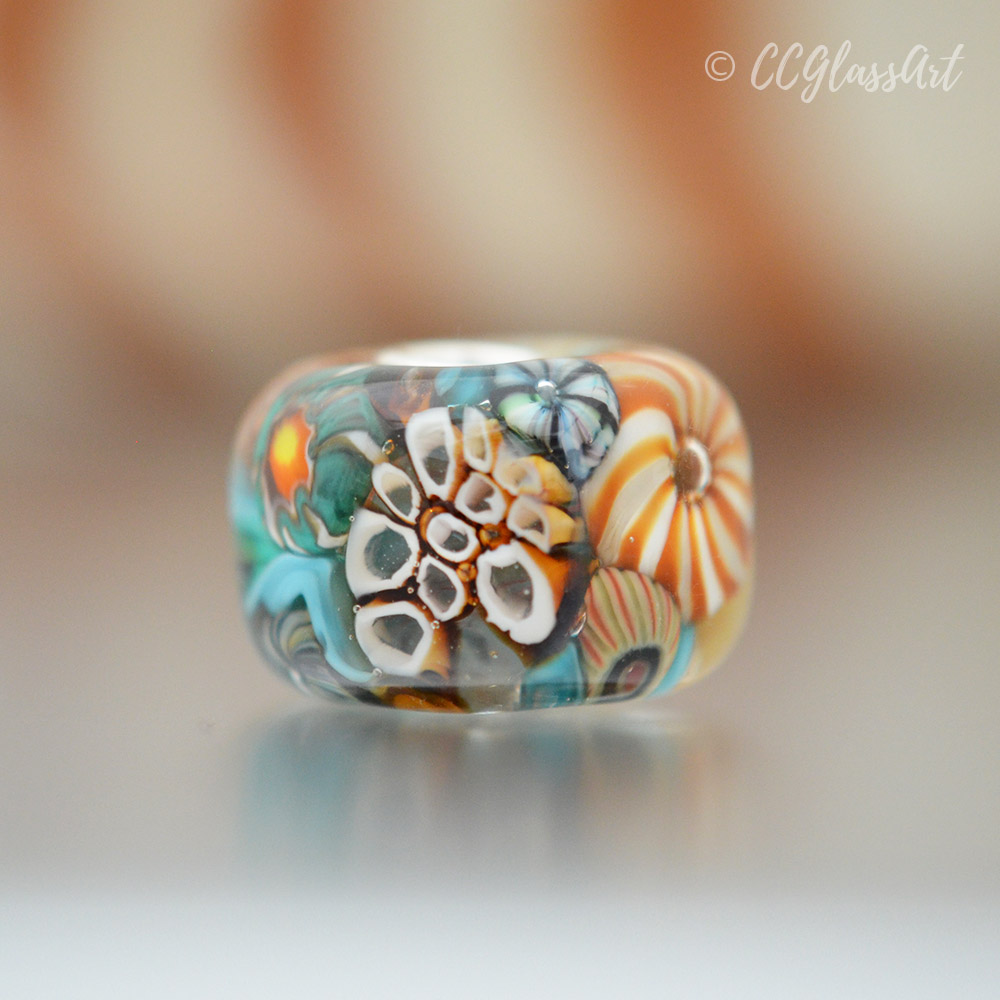
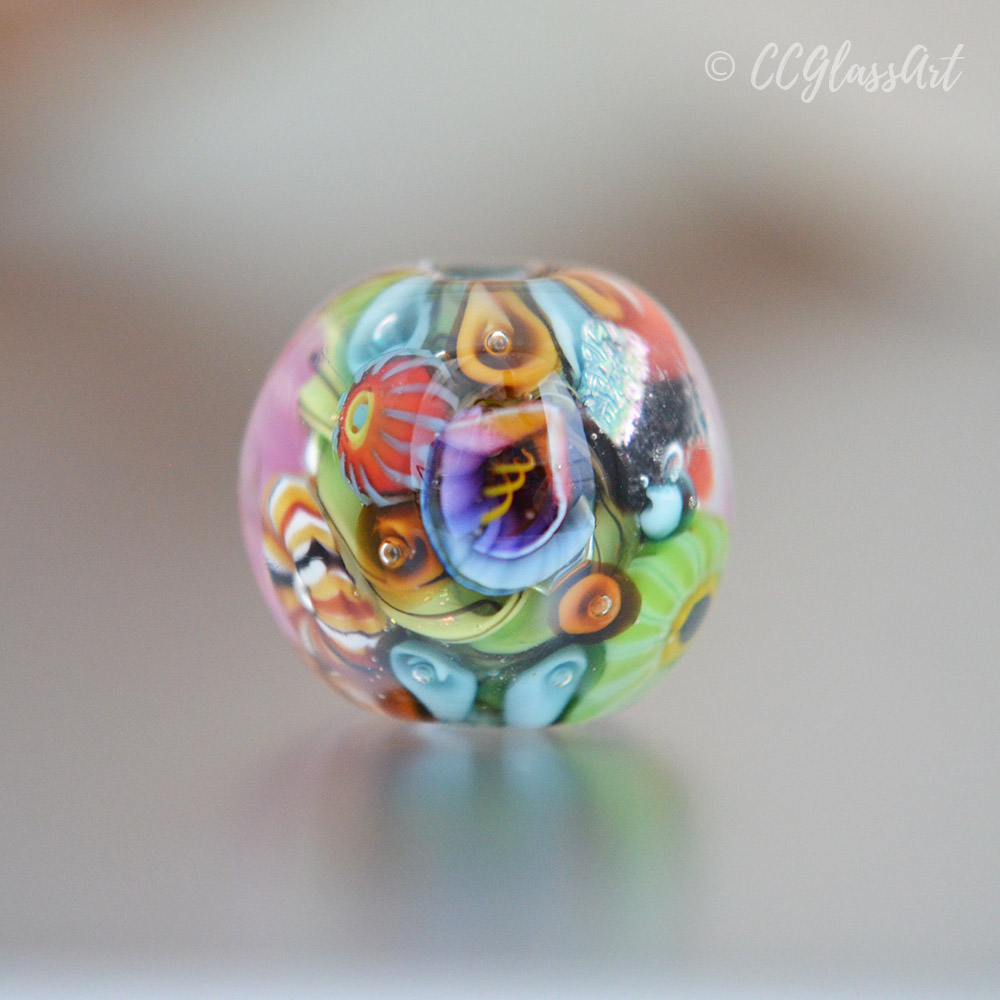
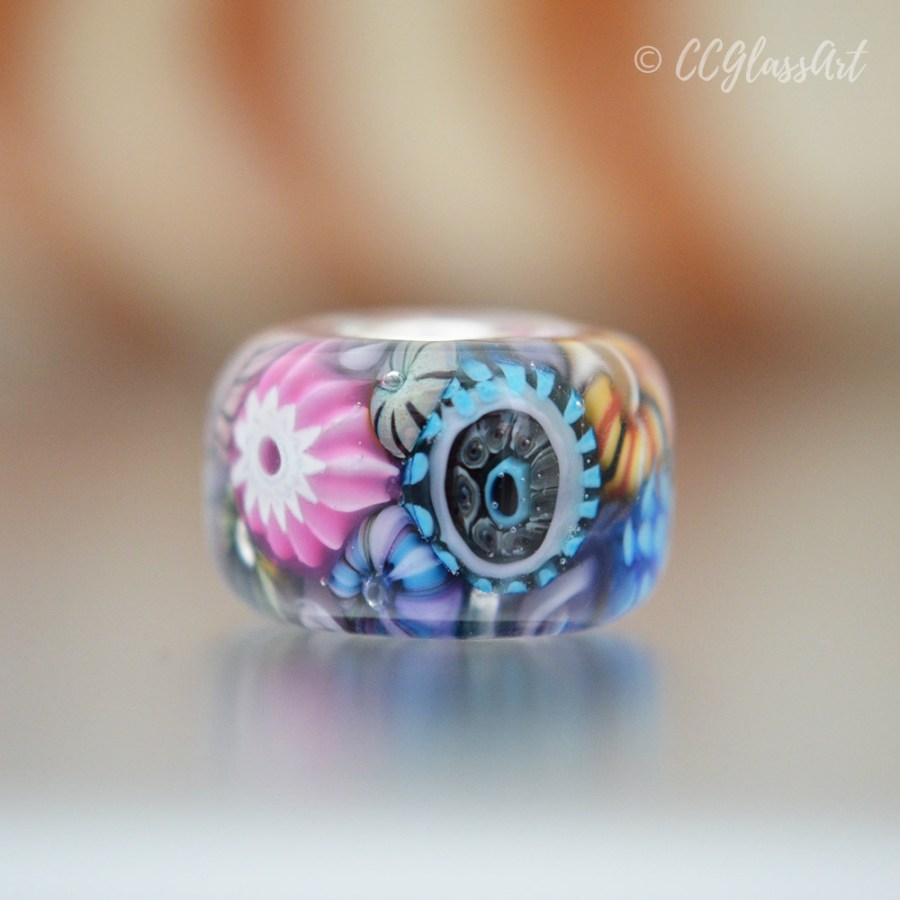
This bead drop features all big-hole beads that fit the thicker, euro-style bracelets & necklaces. 🙂

These beads are particularly challenging to make as I’m squeezing in as many tiny elements as I possibly can into a very small space.

But all the nerve-wracking moments are definitely well worth it as the final result is just gorgeous, (if I do say so myself 😉 … Sometimes I even knock my own socks off! LOL! 😀

One thing to note, if you’ve purchased BHB’s from me in the past, is that I’ve made a move to line the hole of these beads with sterling silver inserts which are glued in… versus the solid ss tubing I used to use.

During my ‘bead hiatus’ it seems that the proper sized sterling silver tubing is no longer readily available as it once was. All the suppliers I, (and other bead-makers), used to purchase the tubing from no longer carry this particular size.

I have learned that occasionally a group of beadmakers will get together and go in on a bulk buy so that one of the suppliers will agree to source and sell the tubing. I missed the last bulk buy at the beginning of 2023…and am waiting for notice of the next one.

In the meantime, I am using the best quality, solid sterling silver inserts I can find along with a jeweler’s grade adhesive that is extremely durable and stands up to normal wear and tear. My own BHB’s have held up great over the years with the glued inserts, (as I always saved the tubing for beads I sold, not my personal collection.)

The sterling silver inserts still give my beads have that beautiful & professional finish – as opposed to leaving the bead hole unlined, without any inserts. Even though the glass would hold up just fine on a bracelet or necklace without being lined, I simply prefer the look of the holes when finished with sterling silver.

You can currently find all the beads below on Etsy.

Bead Drop: 2-2-24!

I’m back with NEW beads!

It’s been a while since I’ve been able to set aside time to melt glass and I can’t tell you how good it feels to finally exercise my creative muscles again.

I was a bit worried I might have lost my touch and would need some warming up to get back into practice – but I think by now I’ve been doing this for SO long that my hands just know exactly what to do. It was just like riding a bike! 😀

This has been the perfect time of year to jump back in front of my torch since my work schedule hasn’t been crazy-busy, and the weather has been so nice and cool.

I am just having so much fun again leaning into my artistic side and am very excited to share my newest creations with you – (available on Etsy).

🎥 NEW Video: “Pulling Glass Murrini Cane – Step-by-Step Lampworking Tutorial (BONUS: Making a Twistie at the End!)”

Pulling Cane for Murrini - Step-by-Step Tutorial

Click to view video on YouTube

Pulling Glass Murrini Cane – Step-by-Step Lampworking Tutorial (BONUS: Making a Twistie at the End!)

In this lampworking tutorial video, I walk you through how to successfully pull murrini cane from the point where you evenly heat the gather all the way through the end where you create the cane! (PLUS… how to make a twistie with the waste glass, at the end!)

Spring is here! The flowers are blooming…and so is a batch of NEW BEADS! :D

Hello! I hope this message finds you enjoying the first weeks of Spring and all the new flowers blooming! 😀

This has truly been one of the most glorious spring-times I can remember in all my years here in Sunny SoCal.

We had SO much rain this winter that the hills and mountains all around us are completely covered with thick carpets of green grass and beautifully colored wildflowers everywhere!

My family and I recently went out to visit a Poppy Reserve. They were experiencing a ‘Super Bloom’ this year and it was absolutely SPECTACULAR! The hills were exploding with bright orange flowers as far as the eye could see. Here is a photo I took of one particularly densely packed hillside…


california poppy reserve

All this color around me has inspired a new batch of beads, many with a floral theme. I finished most of them with silver, brass, or copper bead caps as well. I think the caps finish the beads so nicely making them perfect to wear all on their own, if you choose.

Here is the latest batch of beads available now on Etsy:

Encased murrini glass art beads

Thank you for looking!

Until next time,
Christina
http://www.ccglassart.etsy.com

Video: Making a Reactive Silver Glass Raised Dot Bead

In this video I demonstrate how I create an encased silver glass bead with tiny raised dots on the surface.

With the right type of flame, the silver in the silver glass is brought to the surface of the bead causing it to develop a slightly metallic sheen. Once I see that sheen I quickly and carefully capture that luster beneath a layer of crystal clear glass.

After encasing, and shaping and smoothing the bead, I apply three rows of alternating dots with a silver glass stringer pulled thin.

It takes a steady hand to get the dots just right! 😀

Once applied, the raised glass dots are spun through the heat of the flame just enough to allow them to melt about half way down. If they were not melted in far enough the dots would be at risk of being popped off when worn. But melting them too far down can cause them to lose their dimension and disappear into the bead altogether. It’s a tricky balance between too much and too little heat.

I hope you enjoy watching me work at the torch! 🙂

Christina
CCGlassArt